Run your first campaign
Once you have set up two-factor authentication and added a profile, you are ready to run your first Connector Campaign.
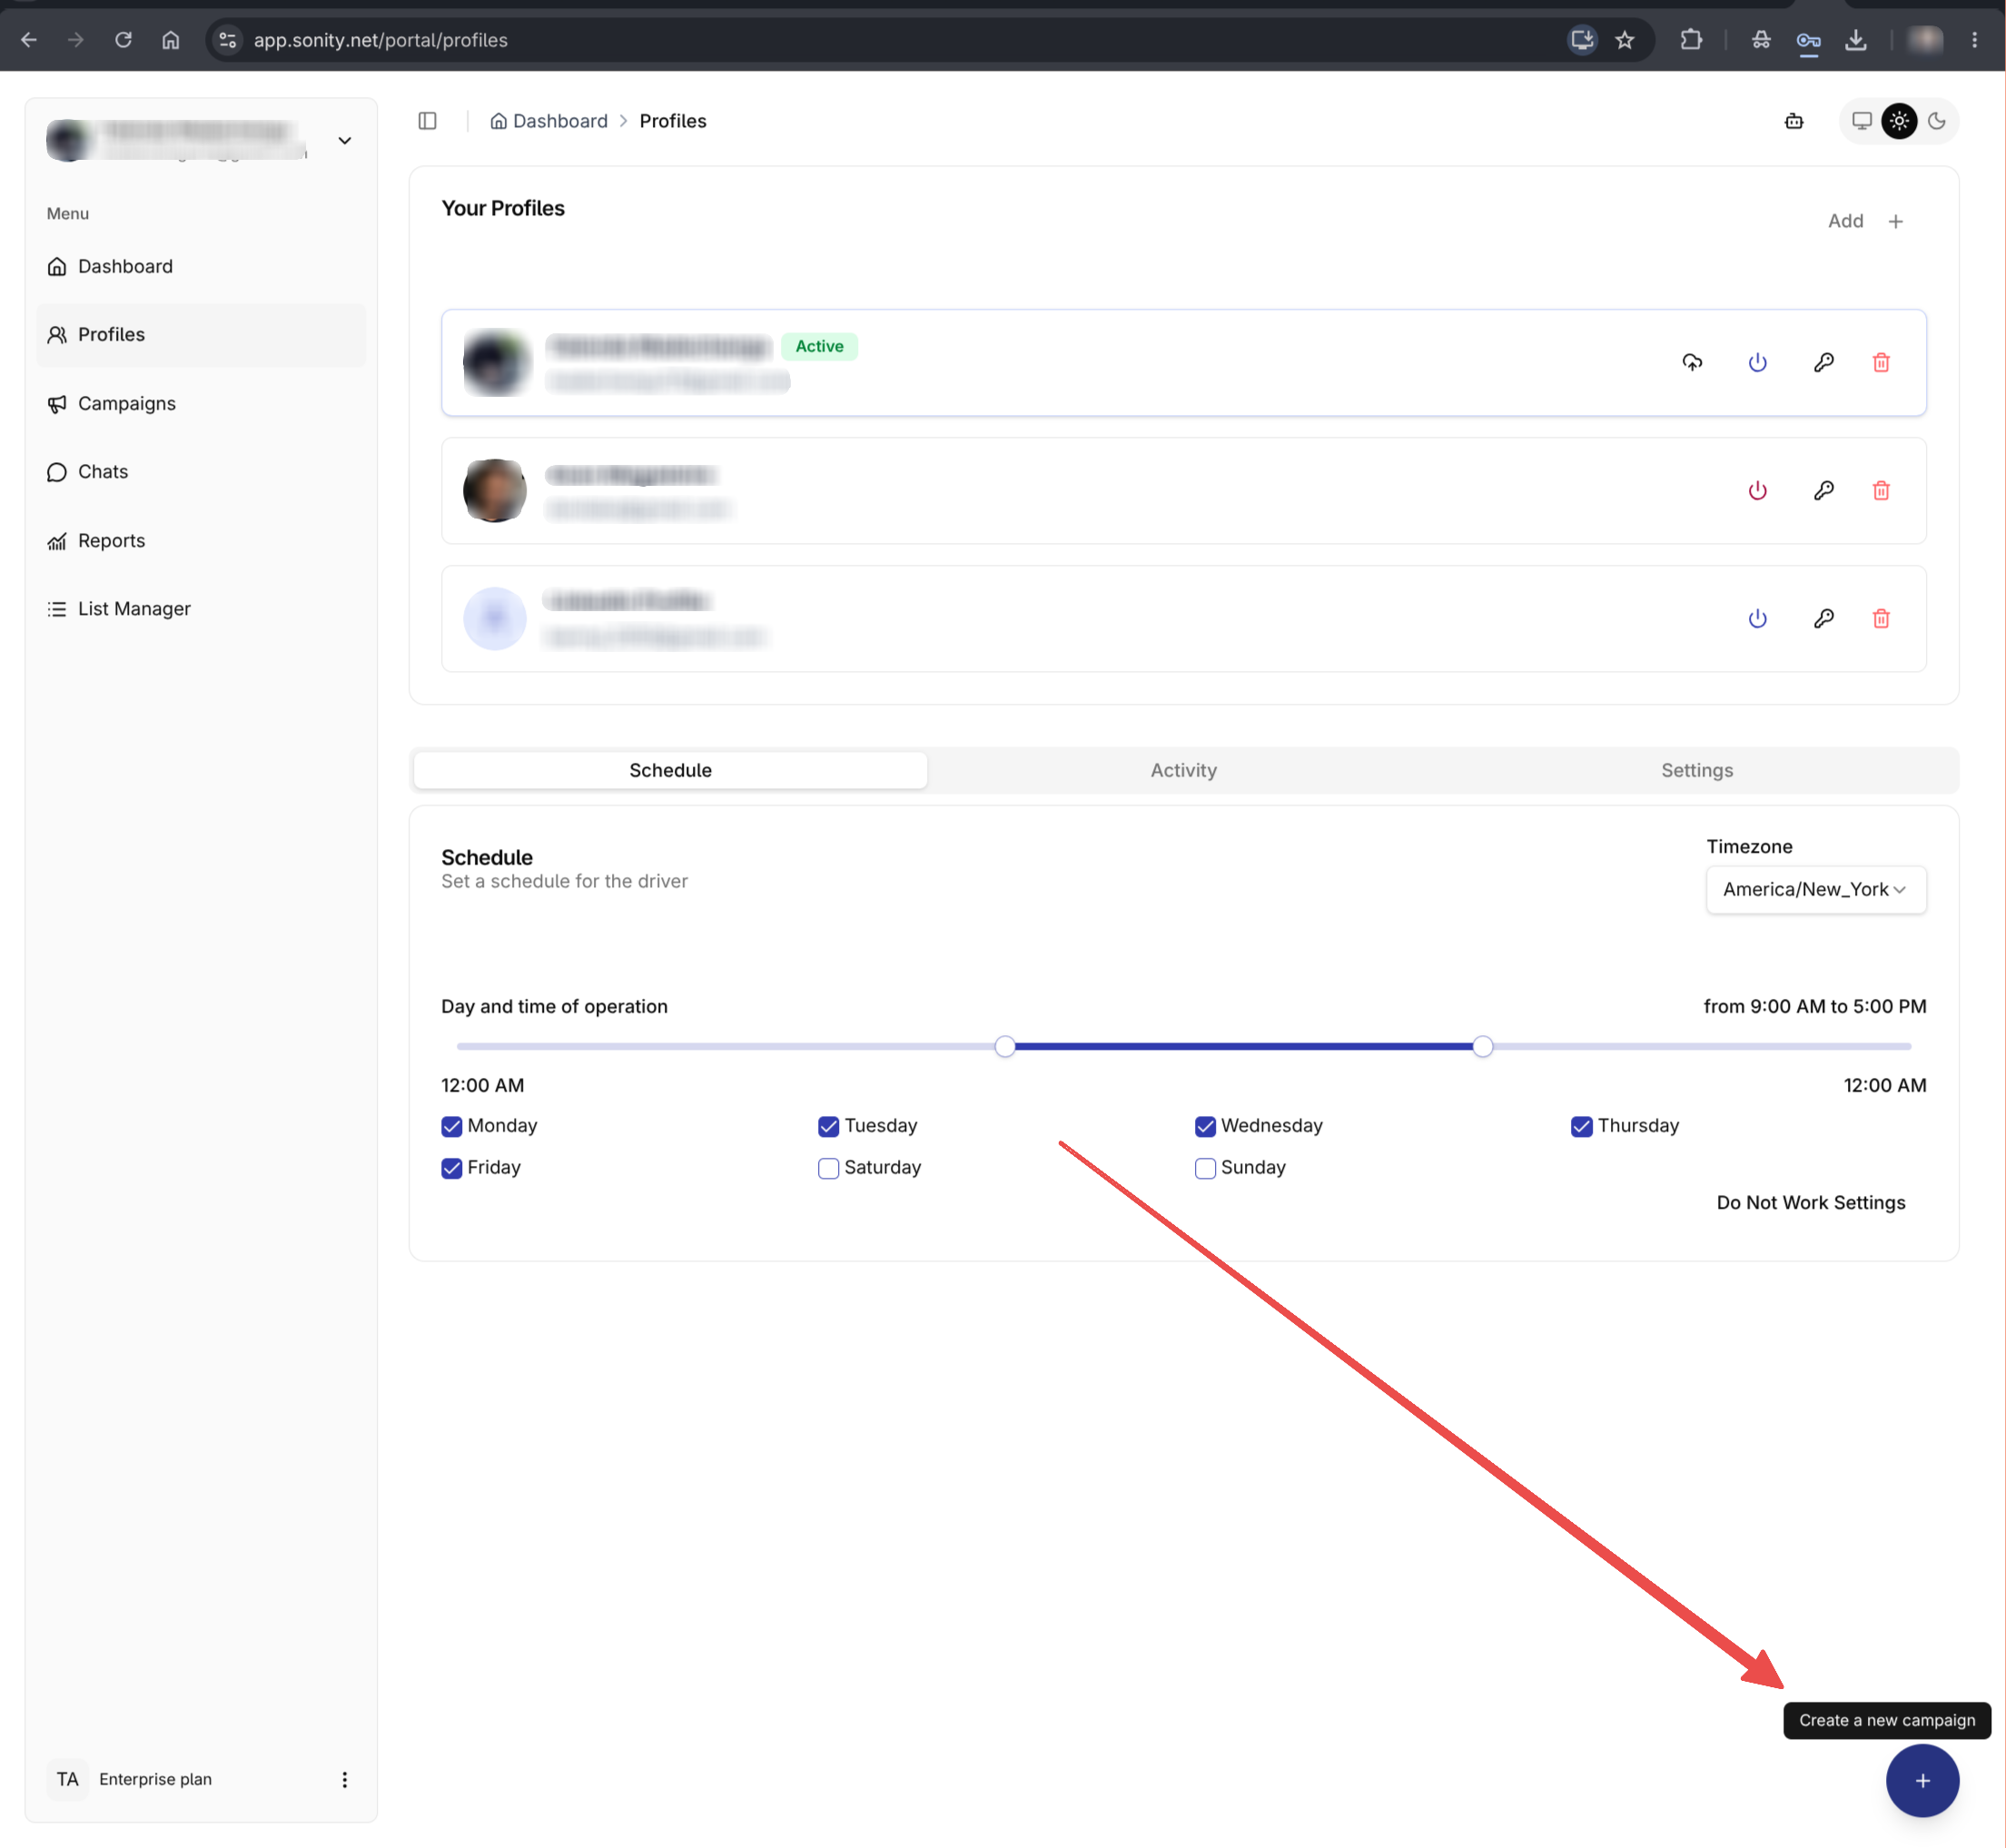
Step 1: Click the New button
From the Home page, click the New button to create a campaign.
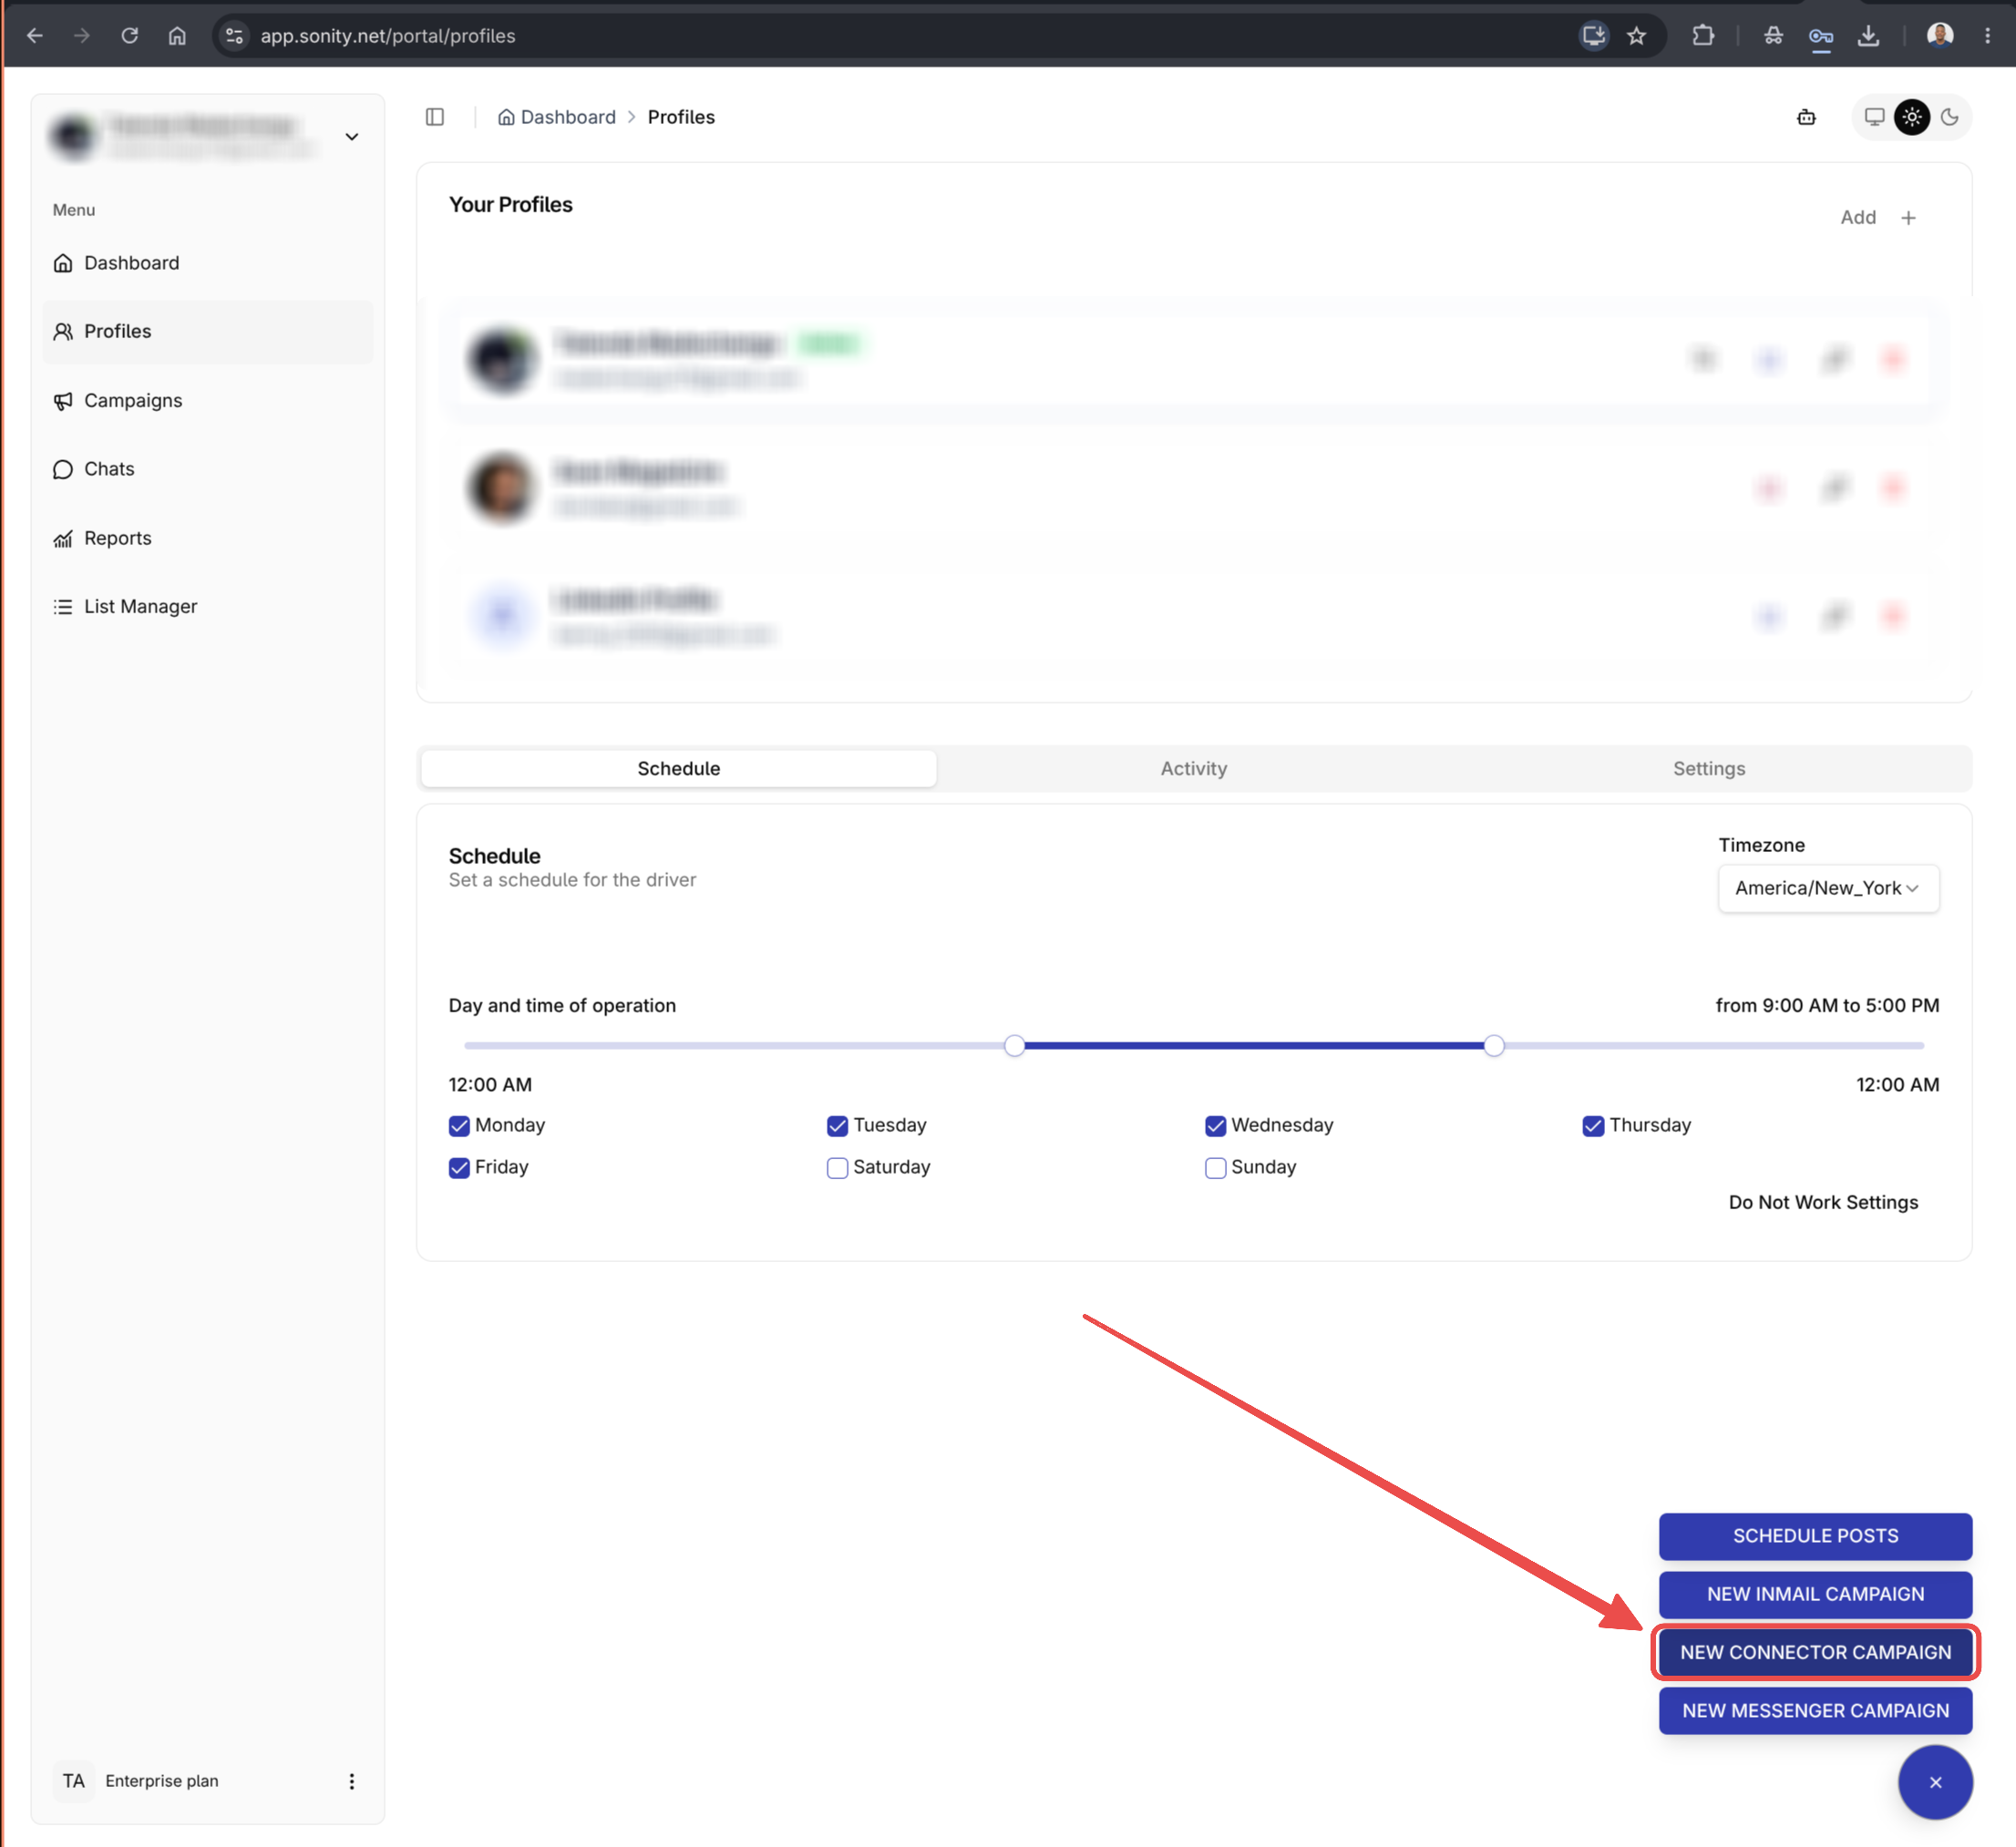
Step 2: Select a Connector Campaign
Choose New Connector Campaign from the menu.
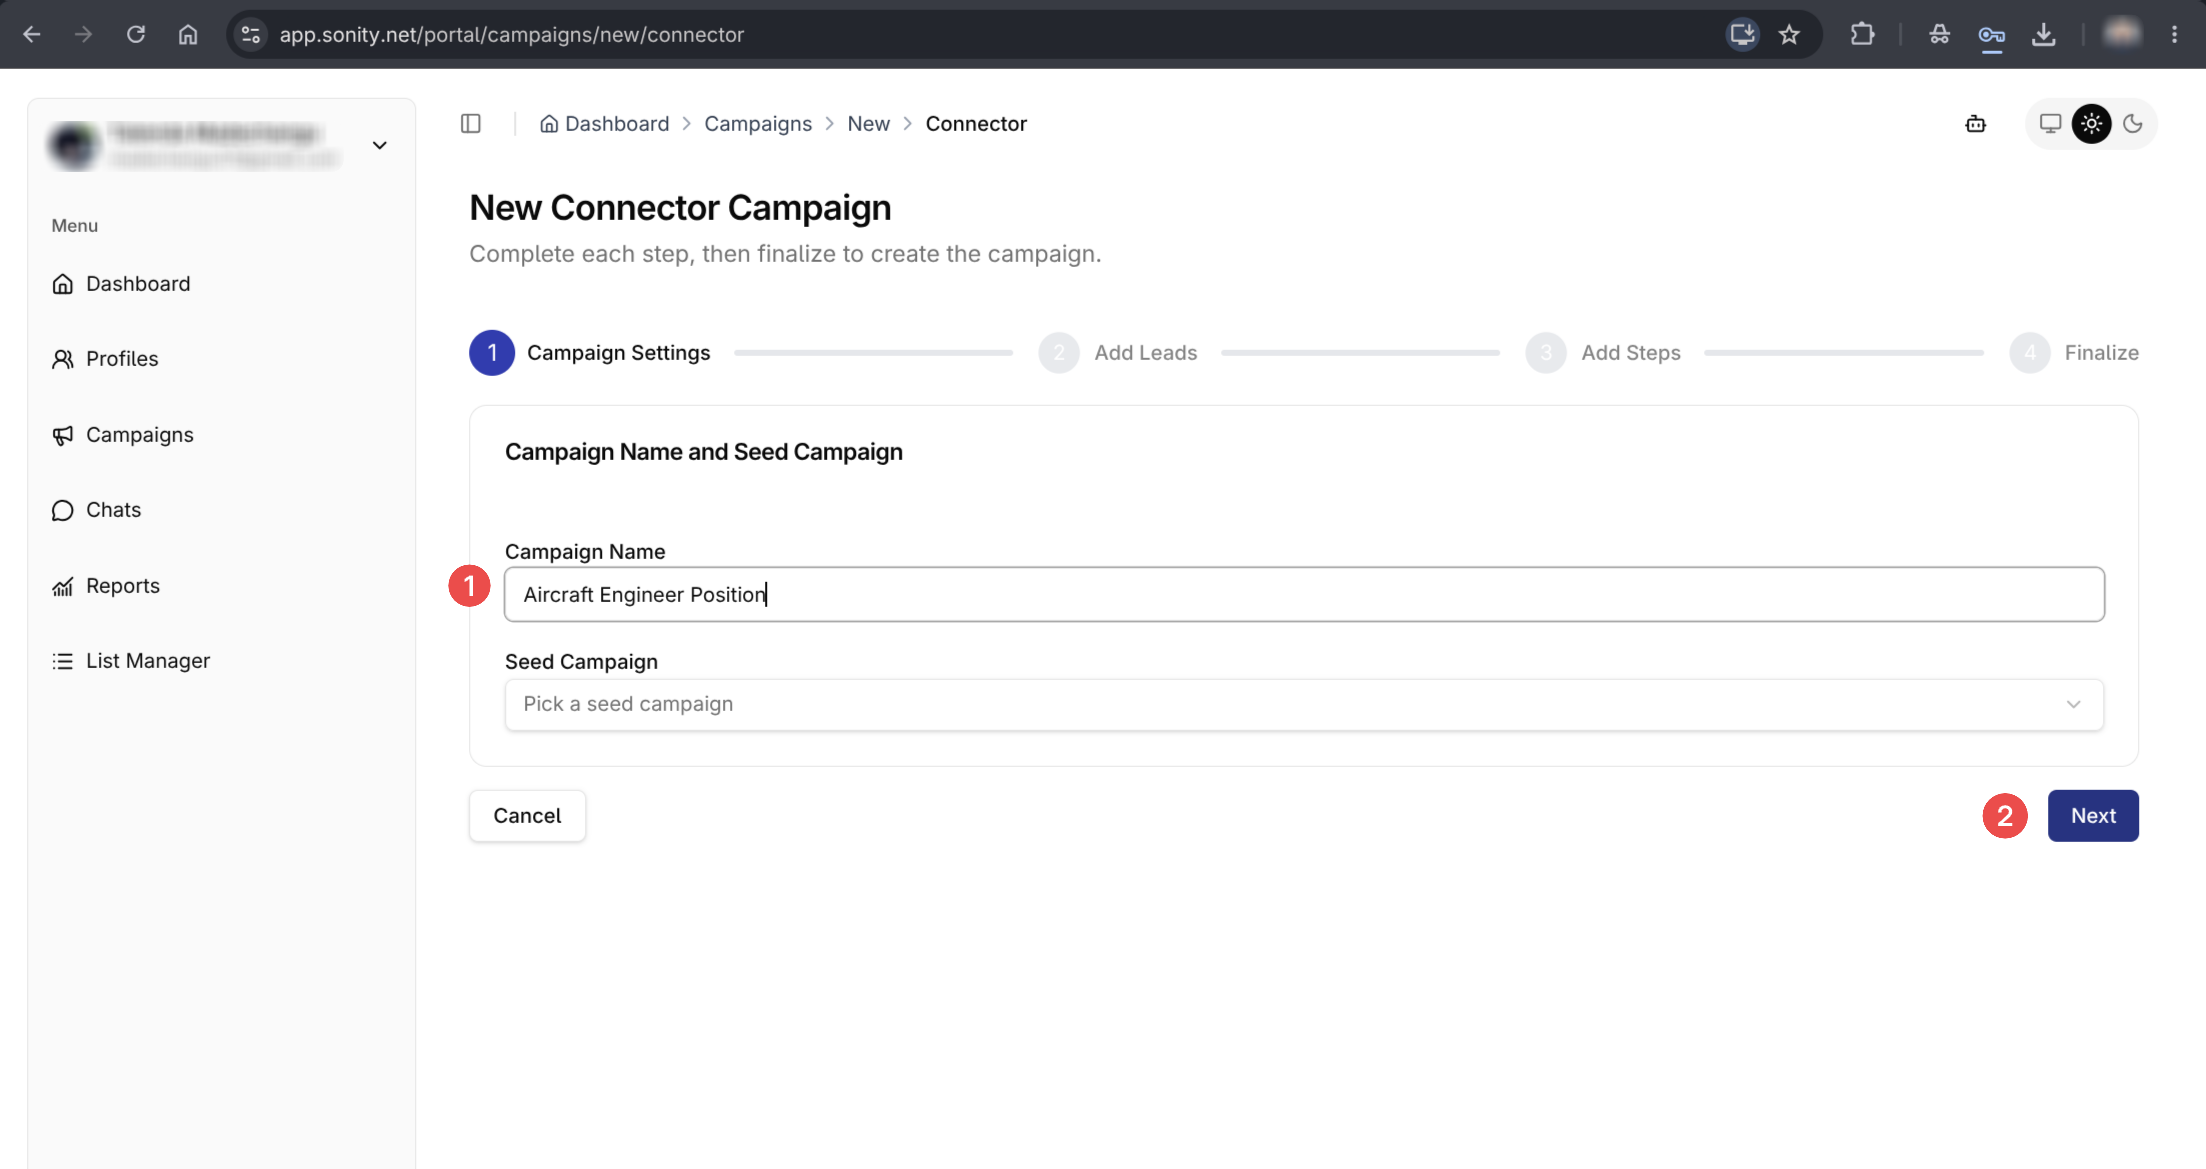
Step 3: Add a campaign name
Give your campaign a name. You can also pick a seed campaign if you have one.
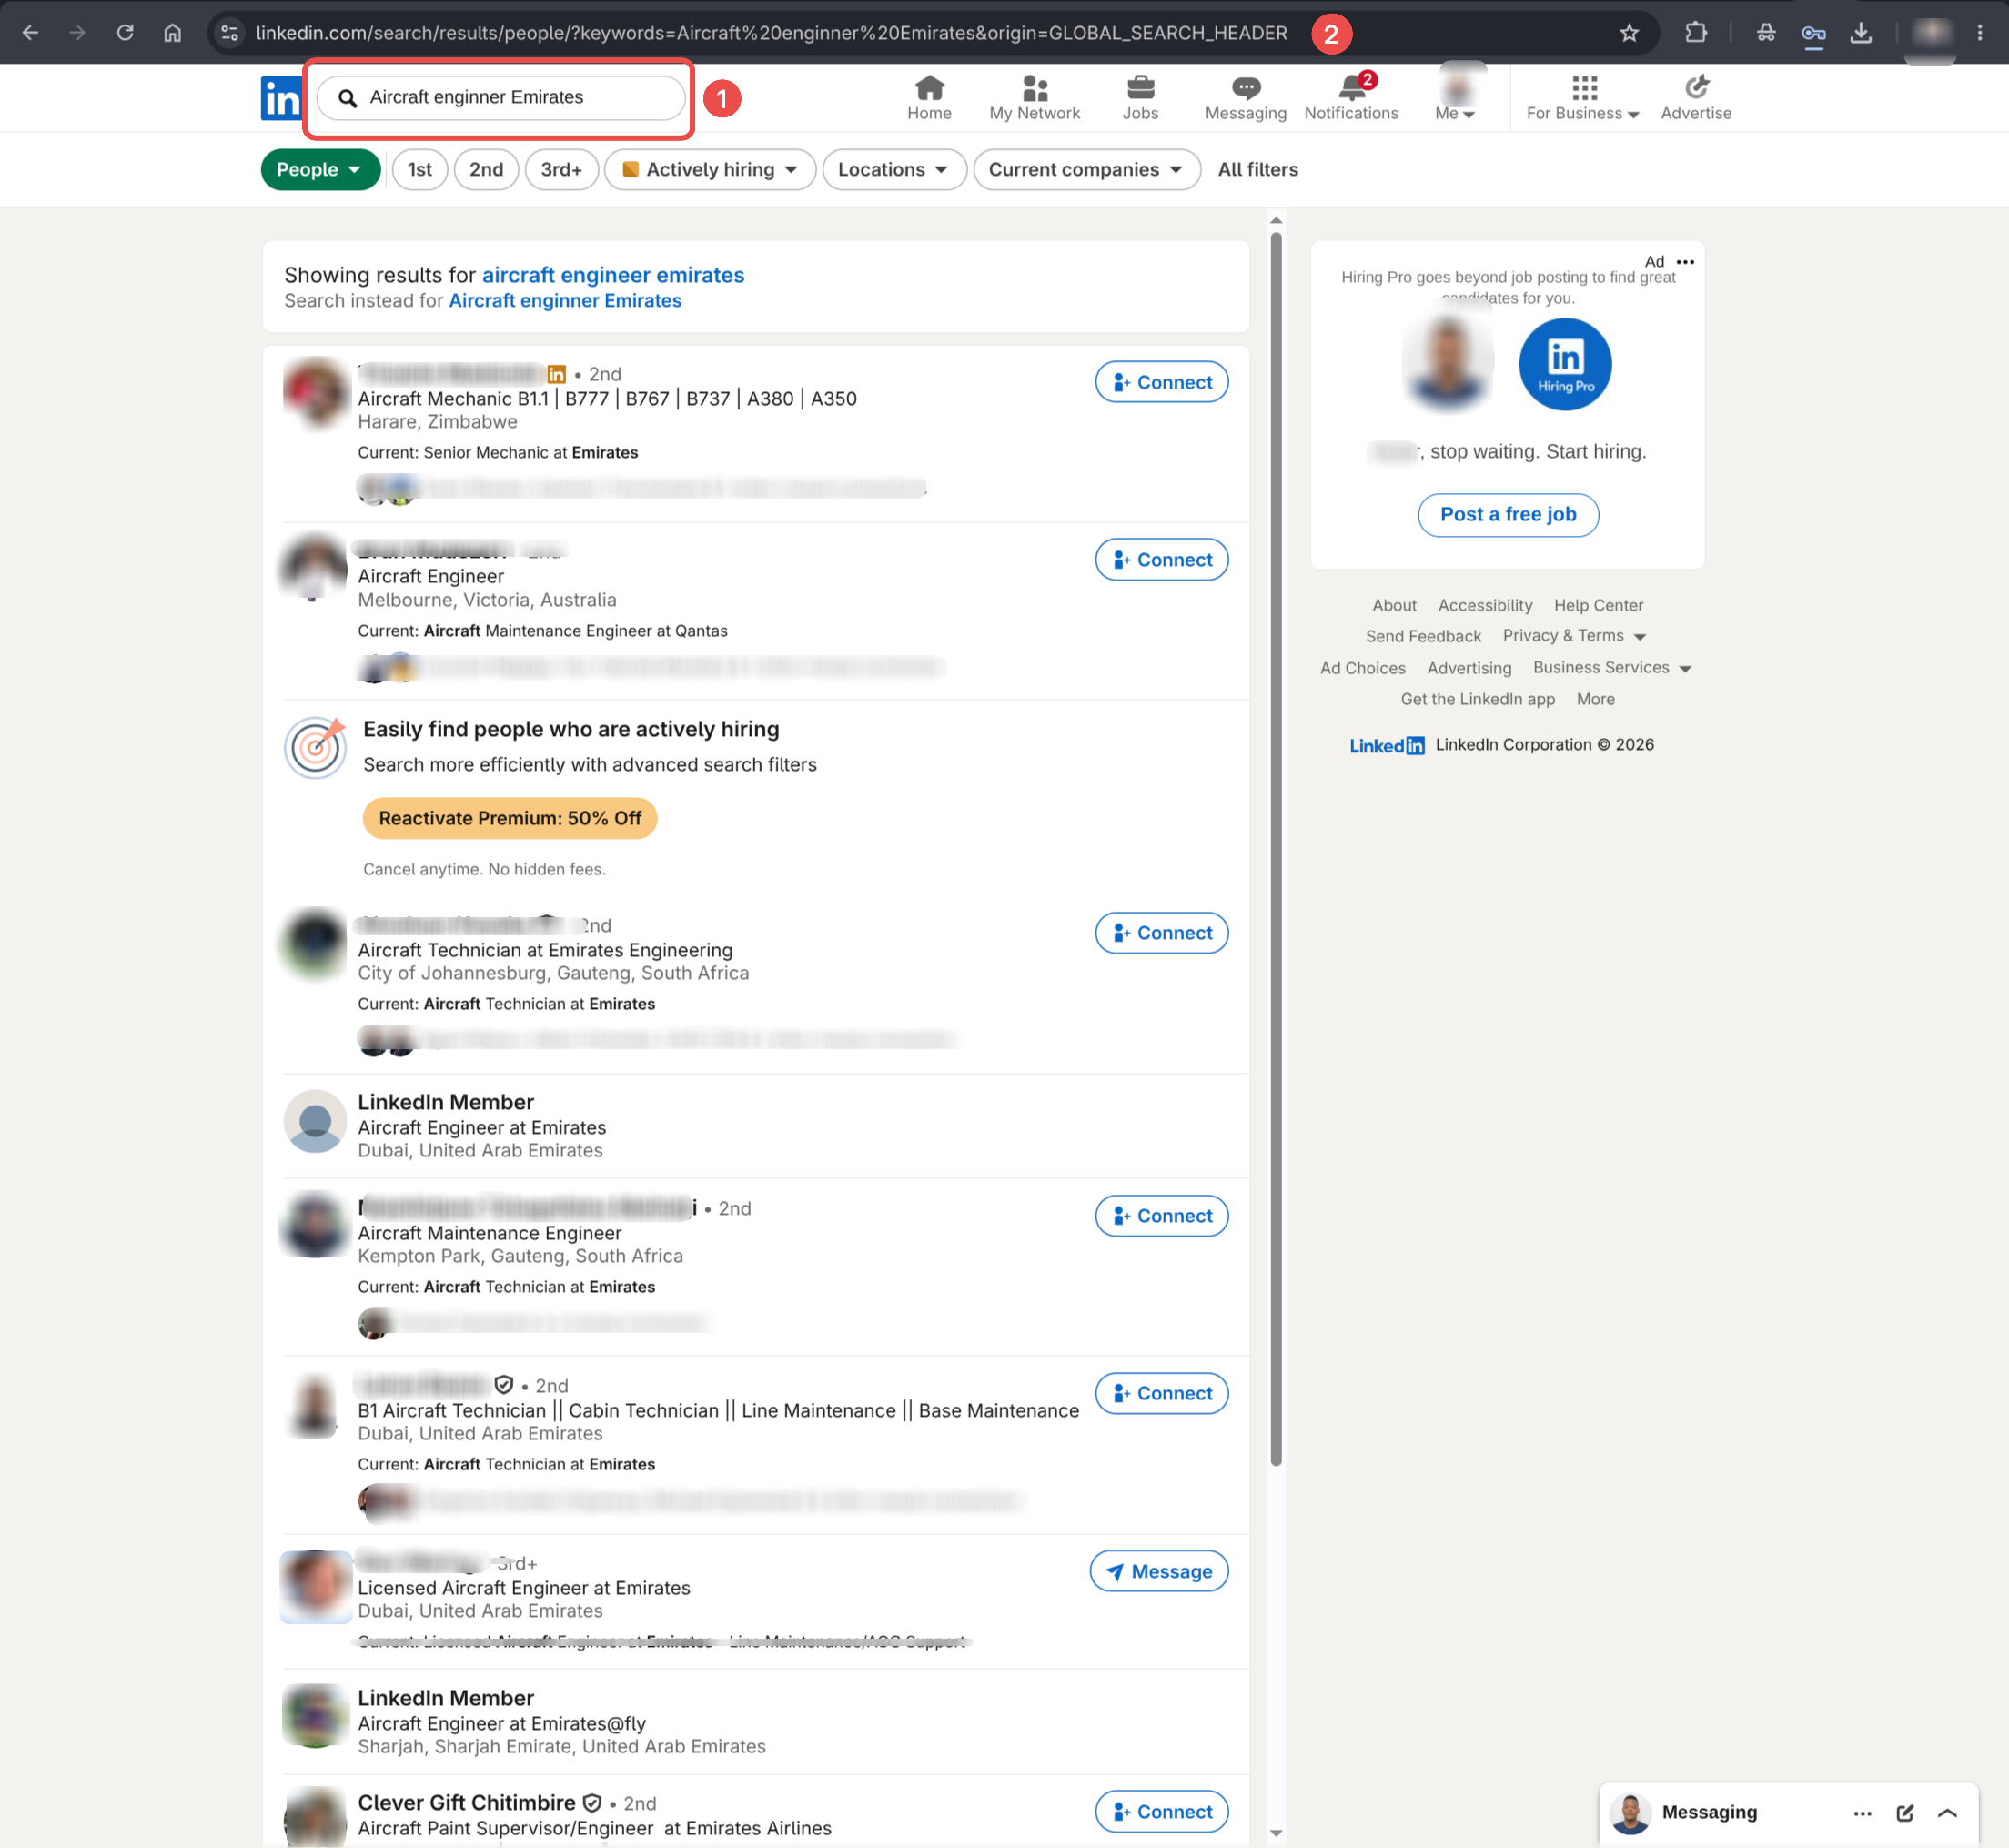
Step 4: Find your contacts
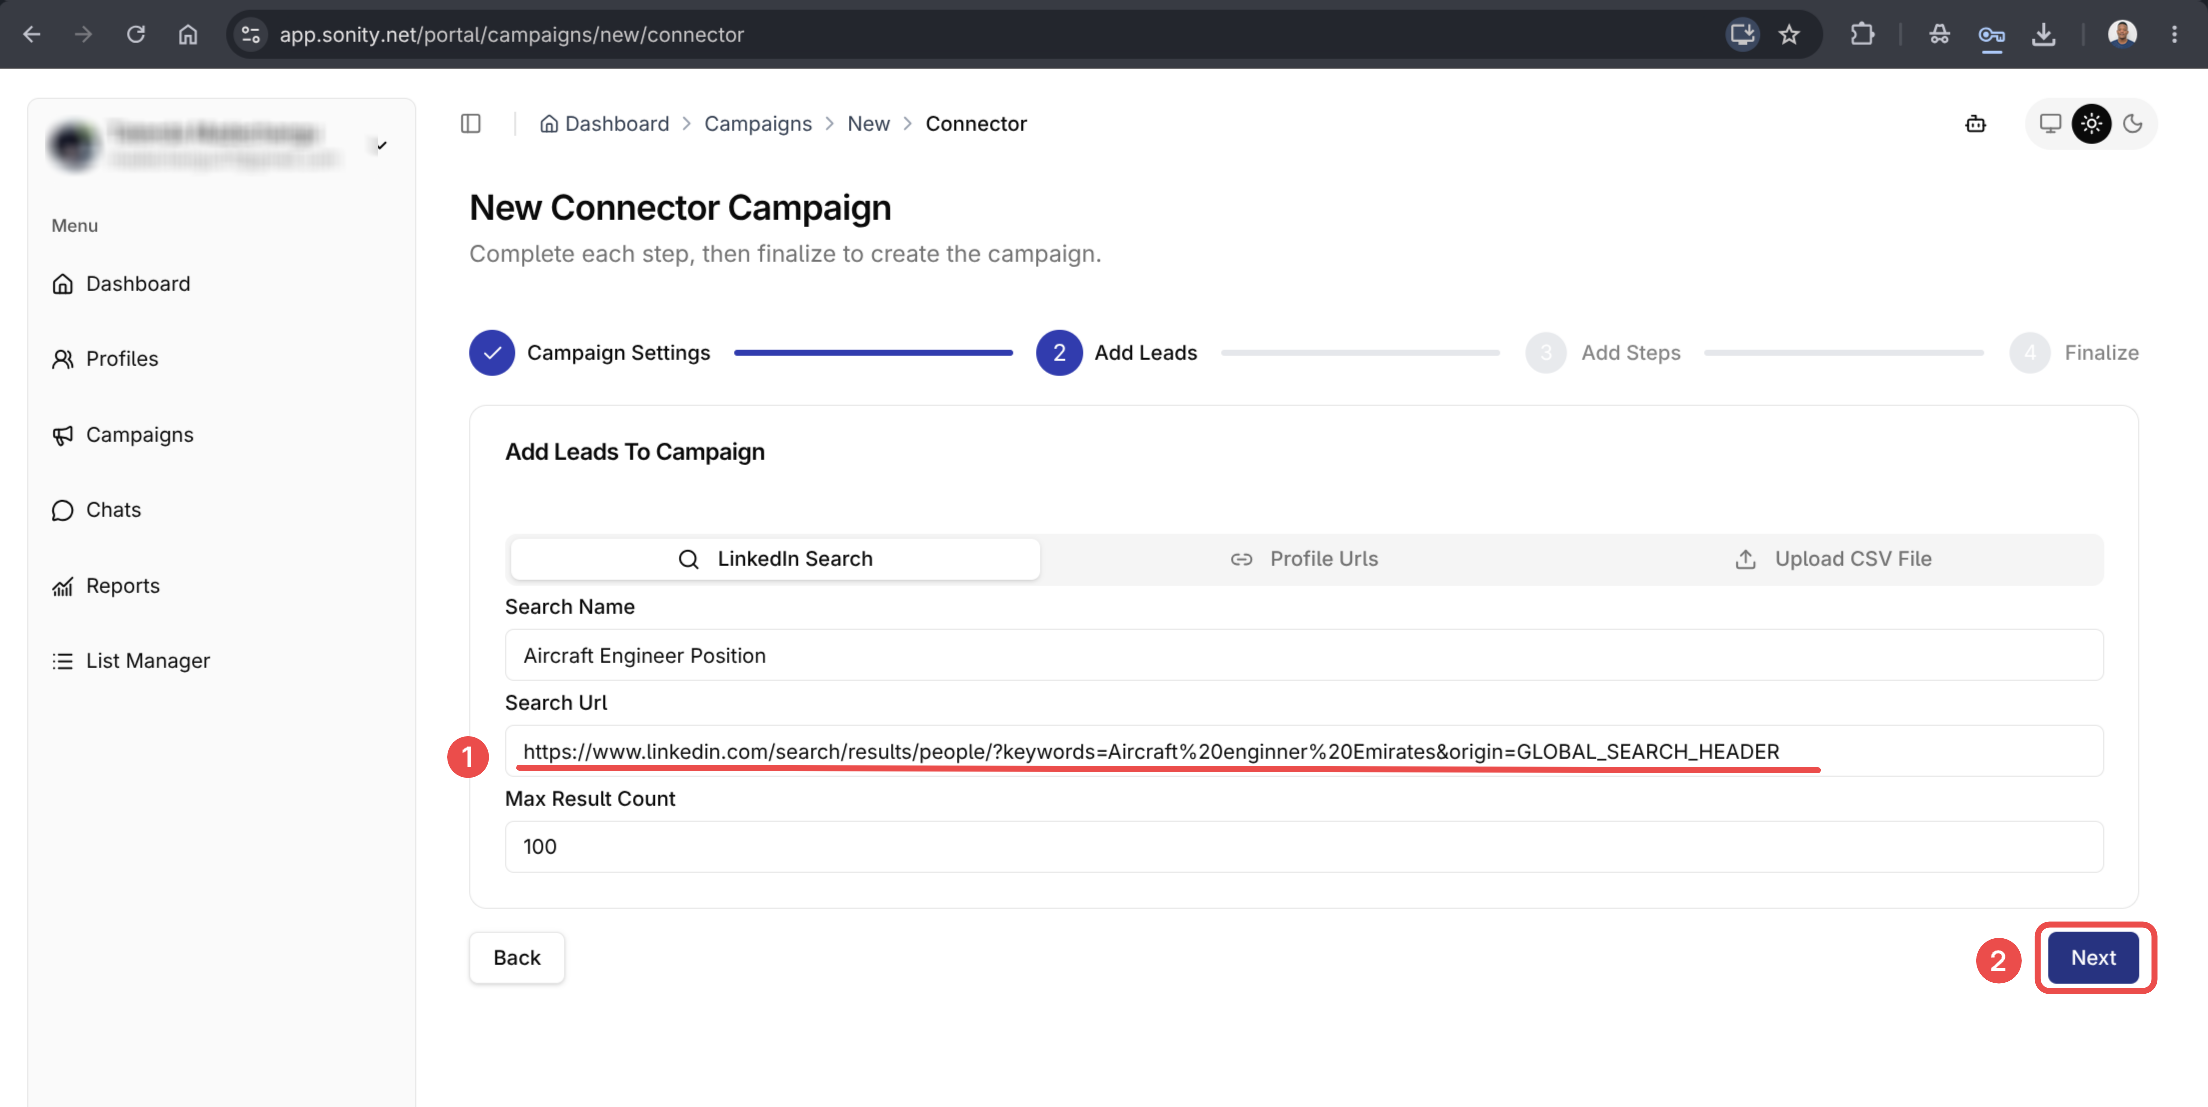
Do a search on LinkedIn (or Sales Navigator), then copy the search URL.
In my case the search was simple but you can add more filters to it so that its much more specific.
Step 5: Paste the URL and continue
Paste the search URL into the campaign and click Next.
You can also add contacts using profile URLs or a CSV import.
Step 6: Add steps and continue
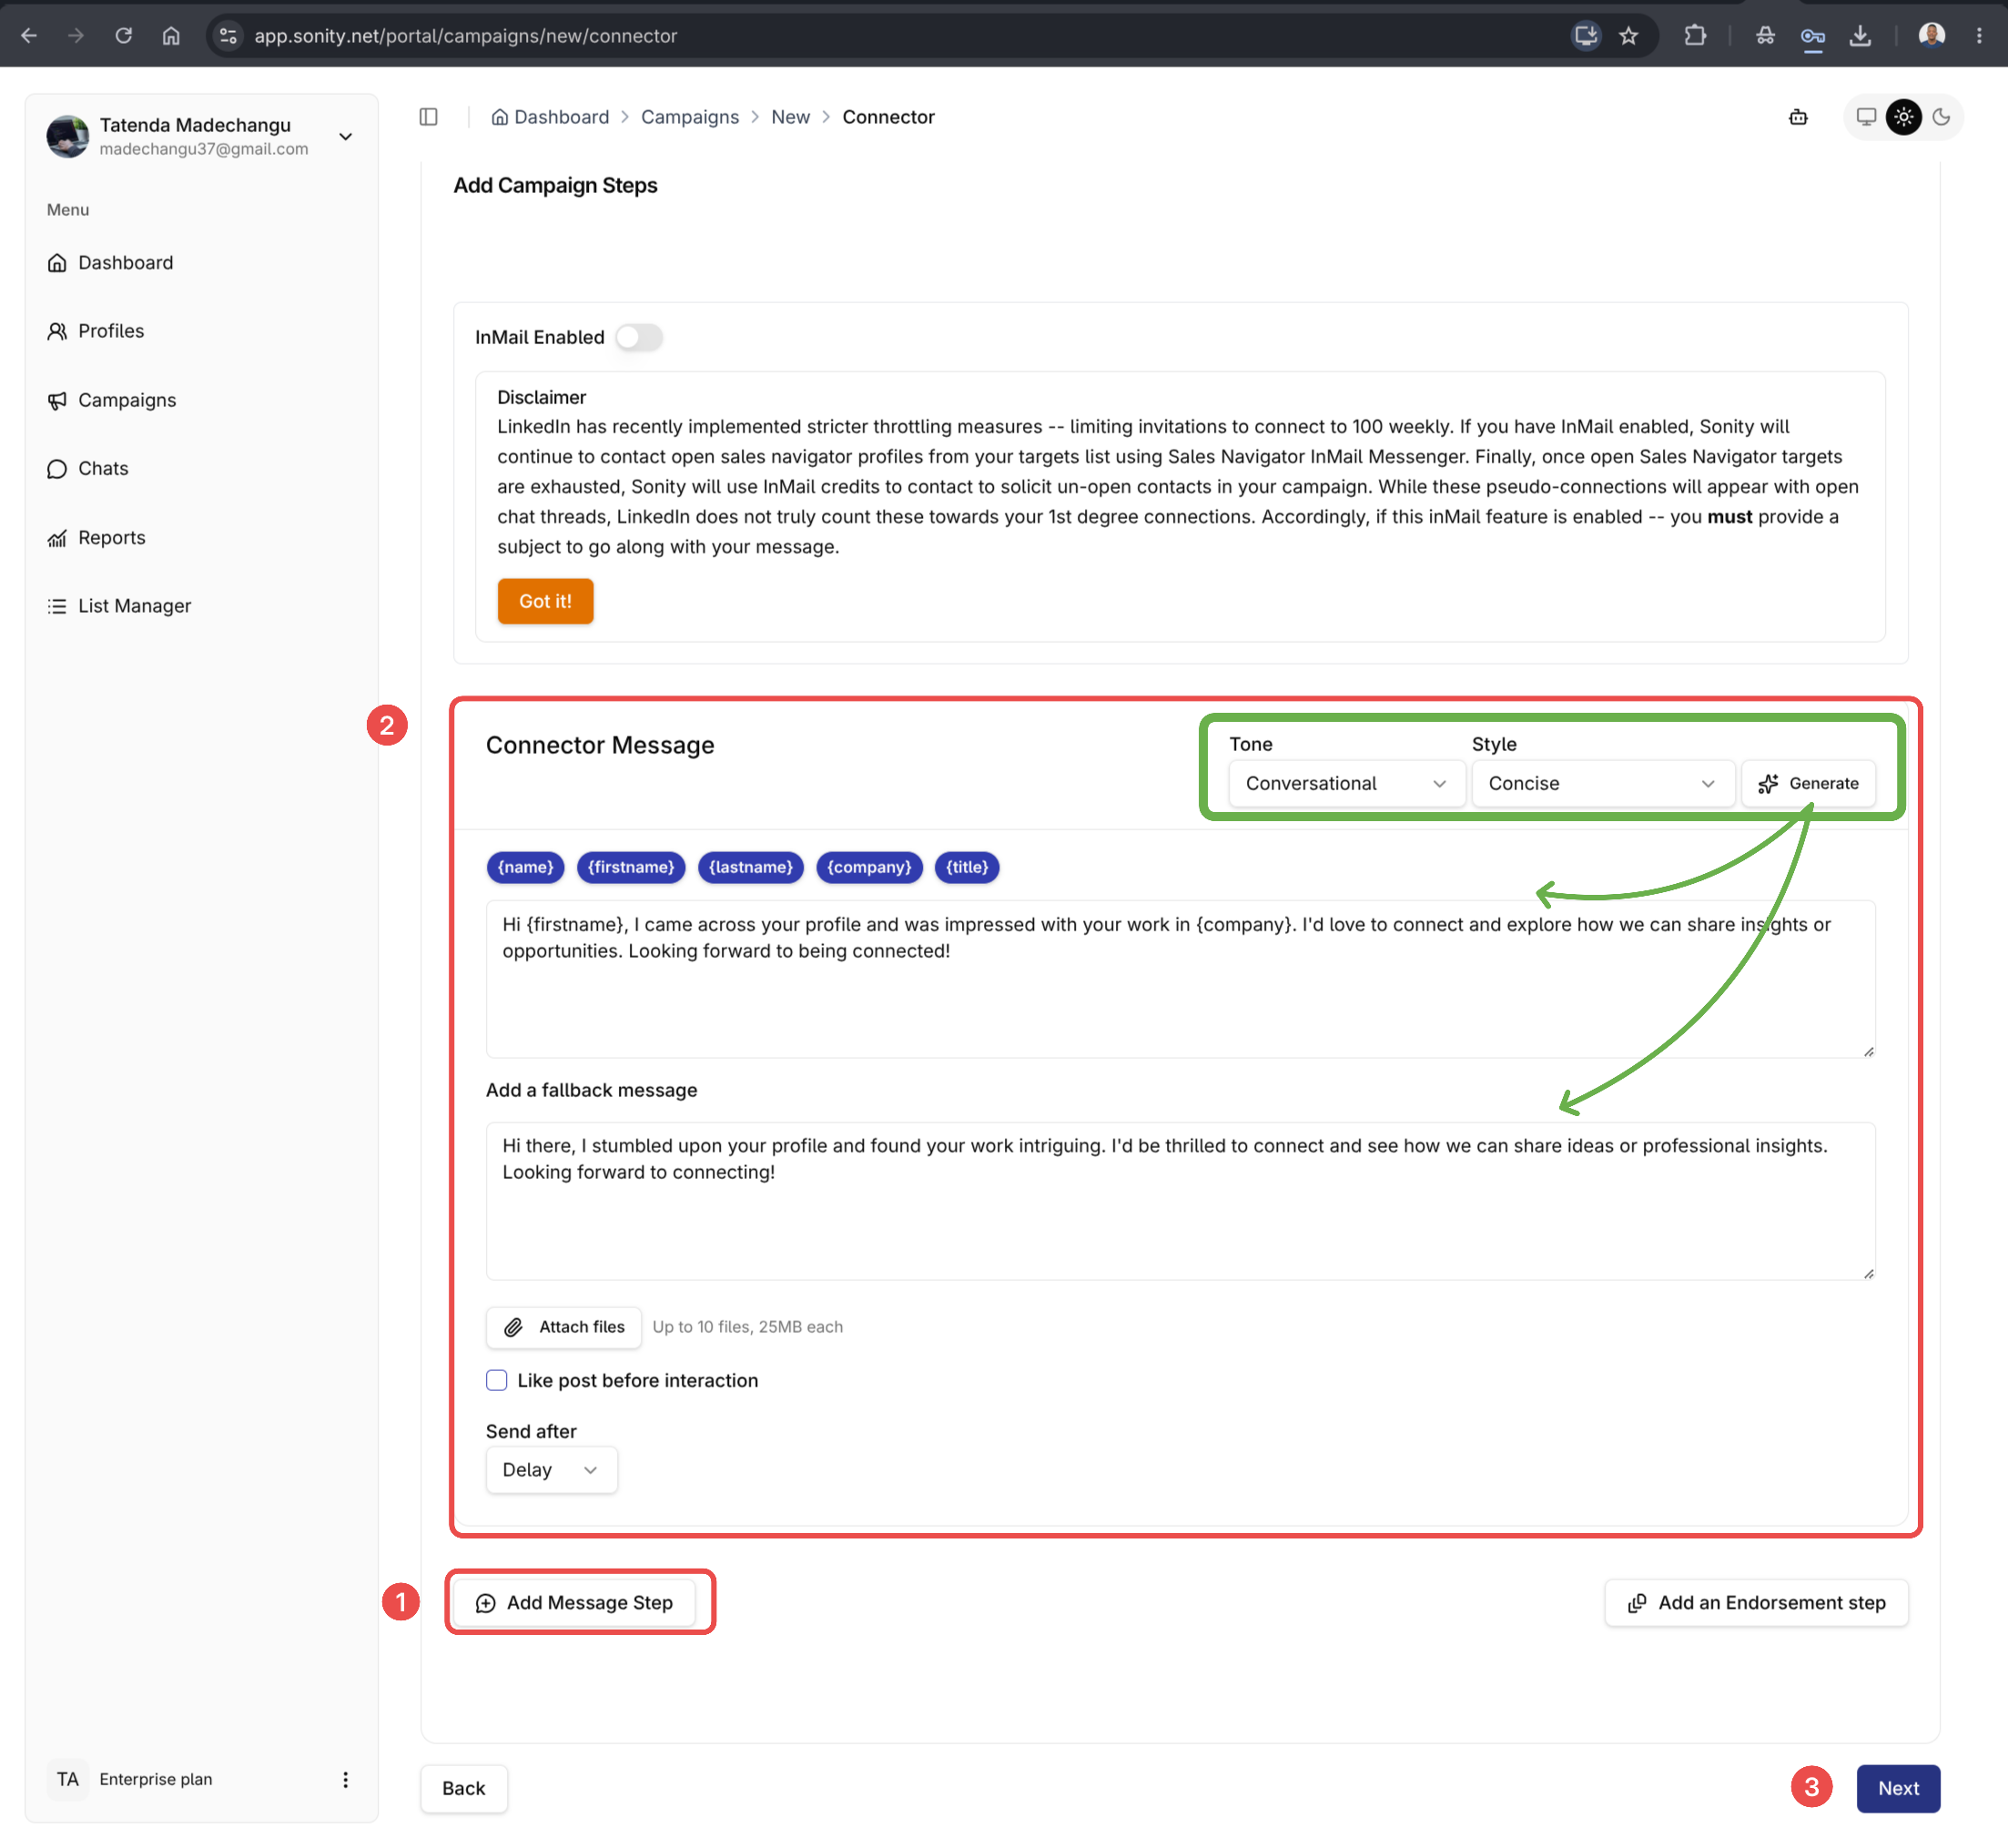
In the Steps stage, configure your message flow, then click Next.
For more information on steps? See Campaign Steps.
You can add as many steps as you like. And you can also use AI to generate the steps as highlighted in the image (check green highlight)
Step 7: Create the campaign
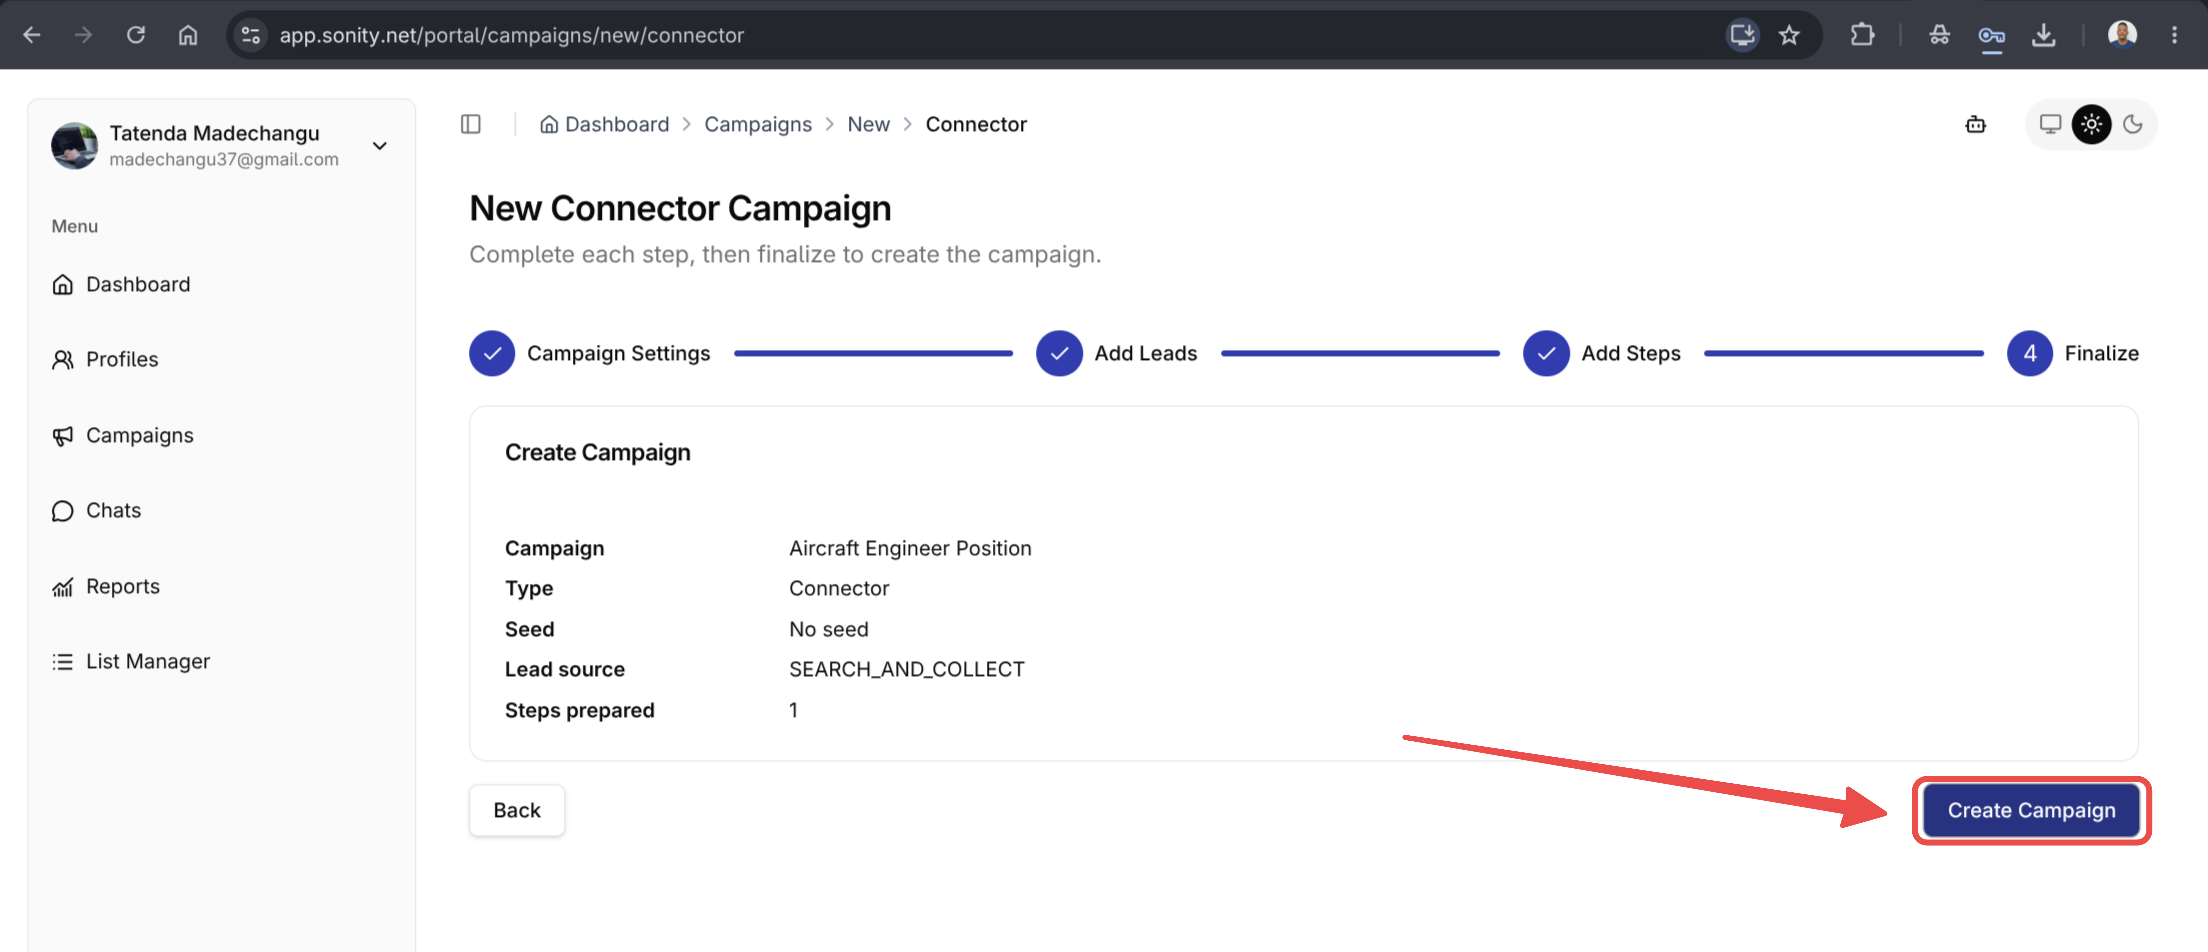
Review your campaign and click Create campaign.
Step 8: You are up and running
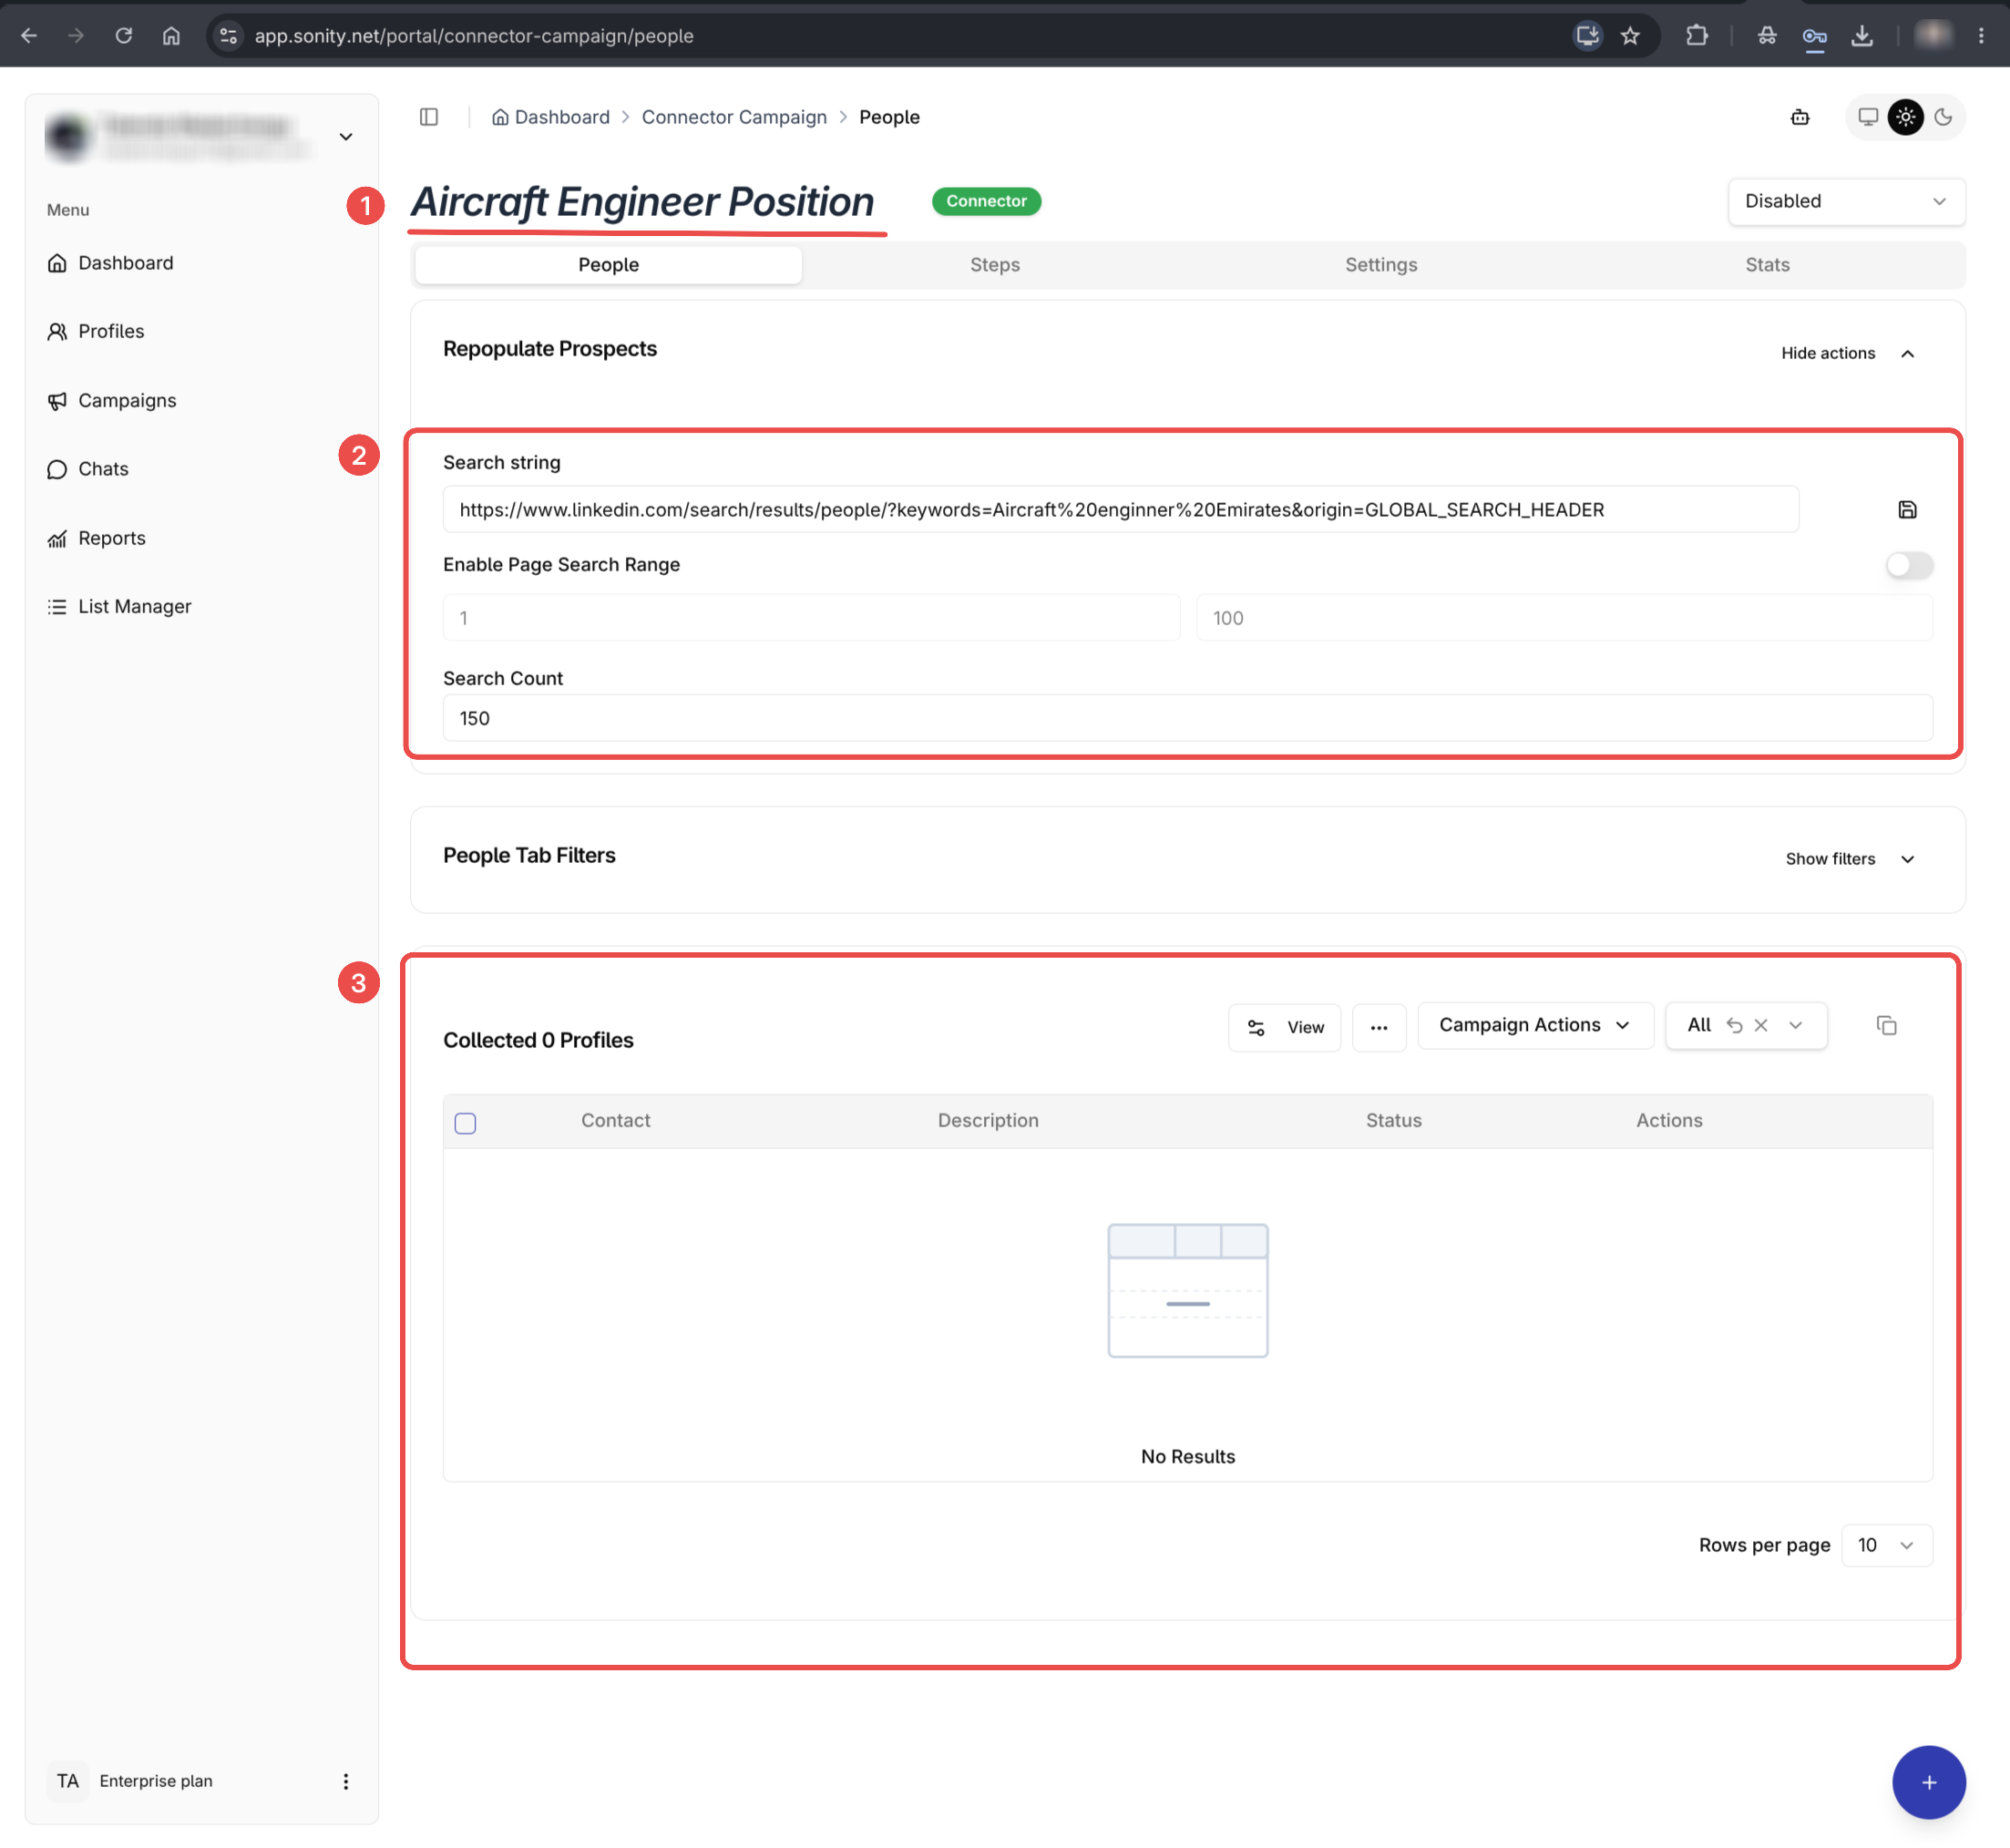
Your campaign has been created. Monitor its progress from your campaign reports – see Monitoring Campaigns.
For deeper concepts, explore the Campaigns section.
FAQ
What happens after I have created the campaign?
Sonity will launch a Search and Collect so that it can gather the contacts. After that is done, set it to Active and Sonity should run the campaing against the contacts