Connector Campaign
A Connector campaign allows you send connection requests to prospects. The goal of a connection campaign is to increase your connections.
You can also use these connections in later campaigns
Estimated reading time: 5 minutes.
How to create a Connector Campaign
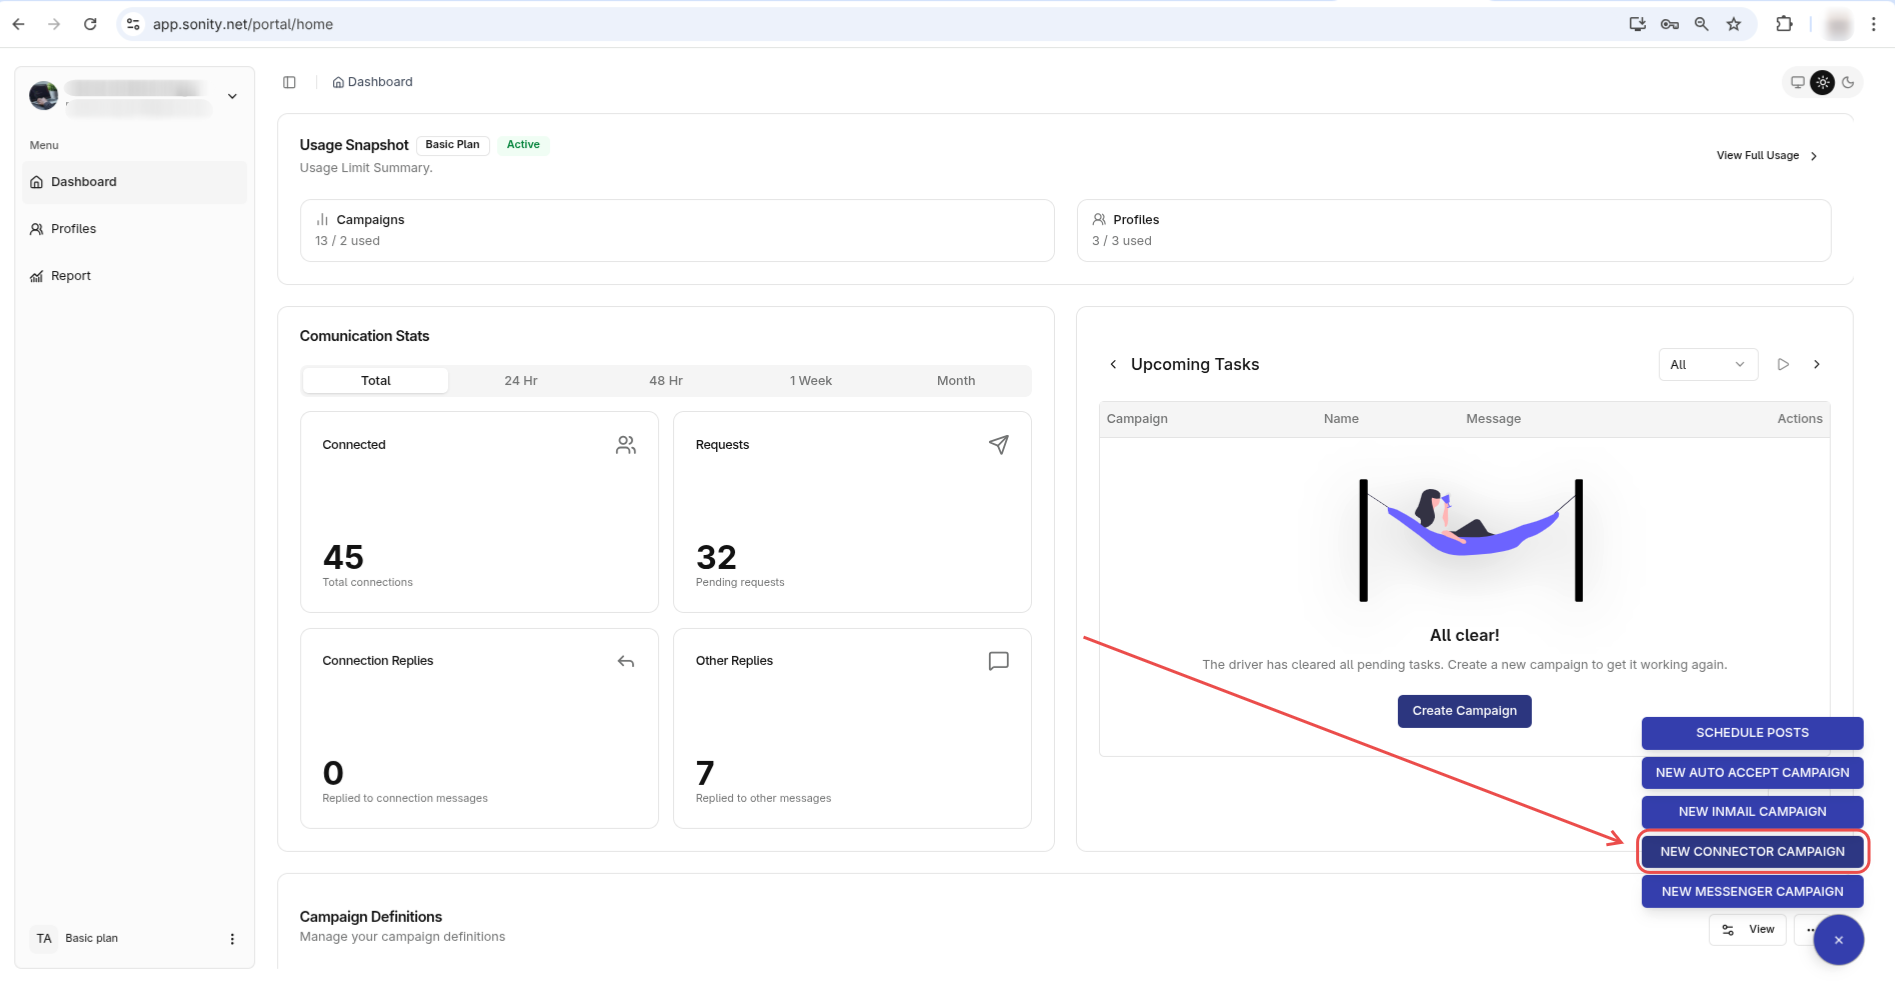
Step 1: Click New Connector Campaign
Navigate to the Home page and click New Connector Campaign:
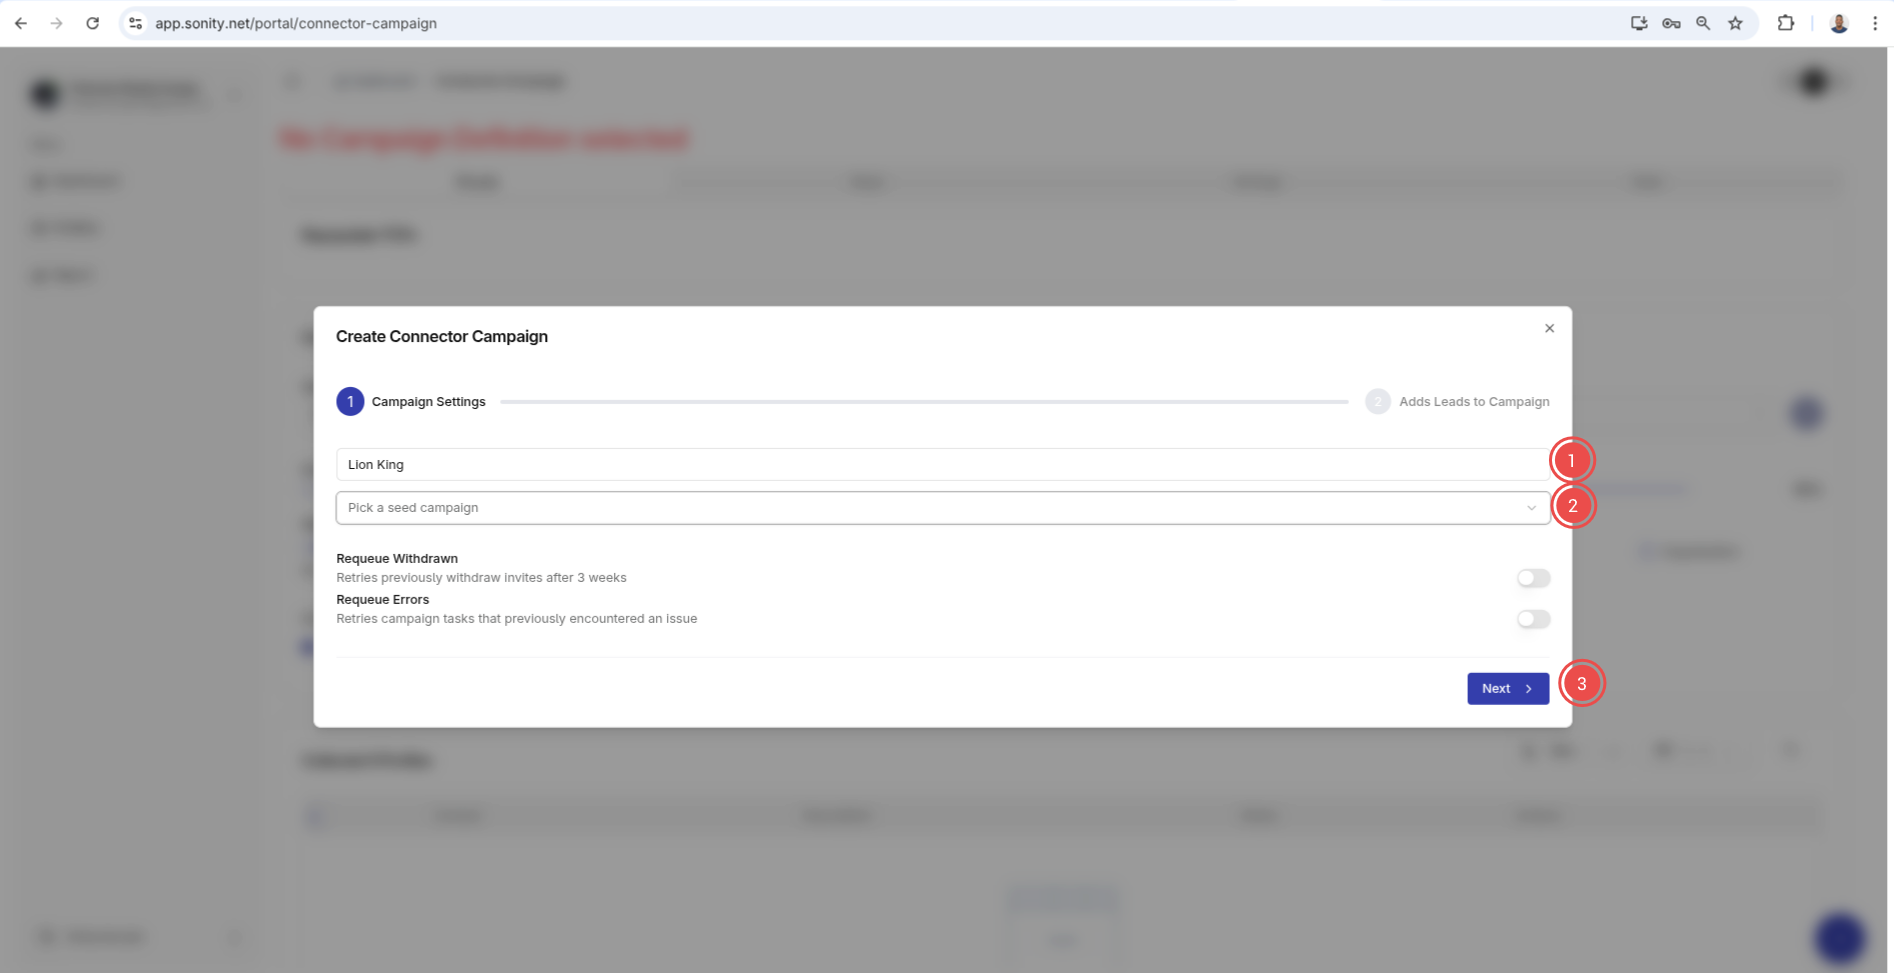
Step 2: Enter name and or campaign seed
Enter campaign name and seed campaign if there one. When you select a Seed Campaign, its campaign steps will be used to seed the current campaign that you are creating. In other words this current campaign will have Seed Campaign step after creation:
Step 3: Add contacts
After you campaign is created you need to add contacts to the campaign. There are many methods to this
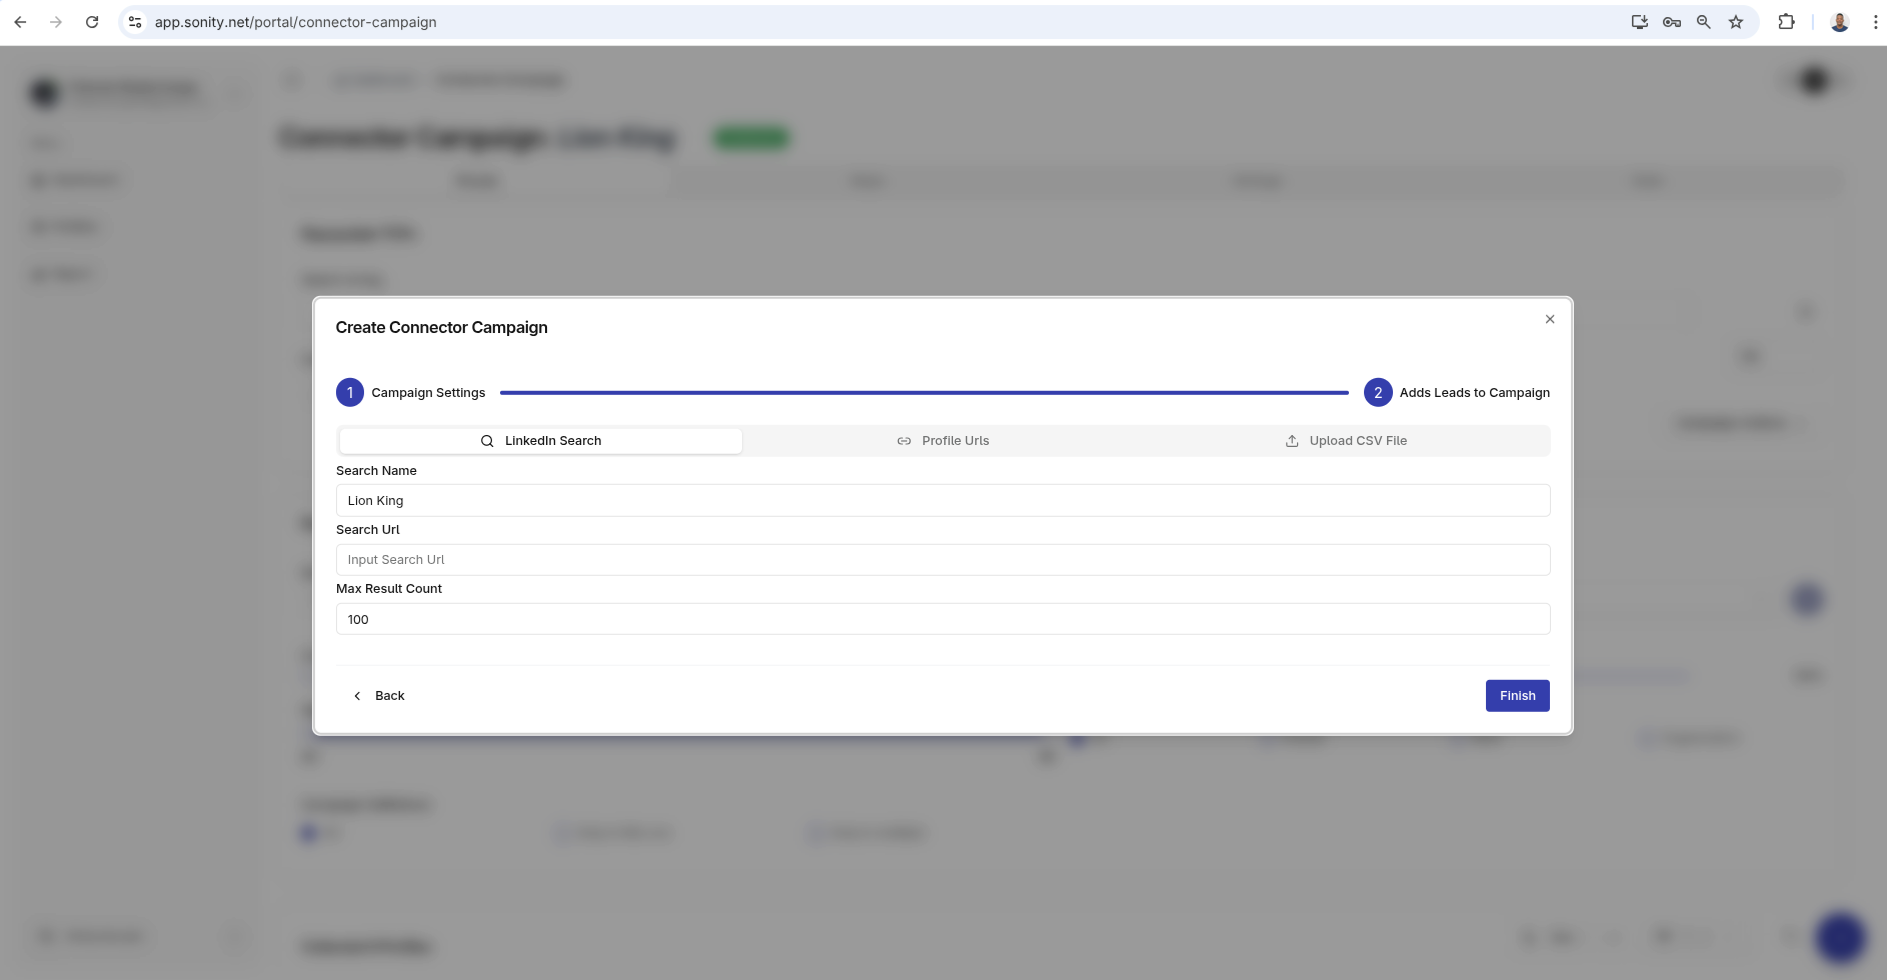
Method 1: LinkedIn Search
To get the Search URL, use LinkedIn search or Sales Navigator search, enter your criteria, copy the URL, then paste it in the Search URL field:
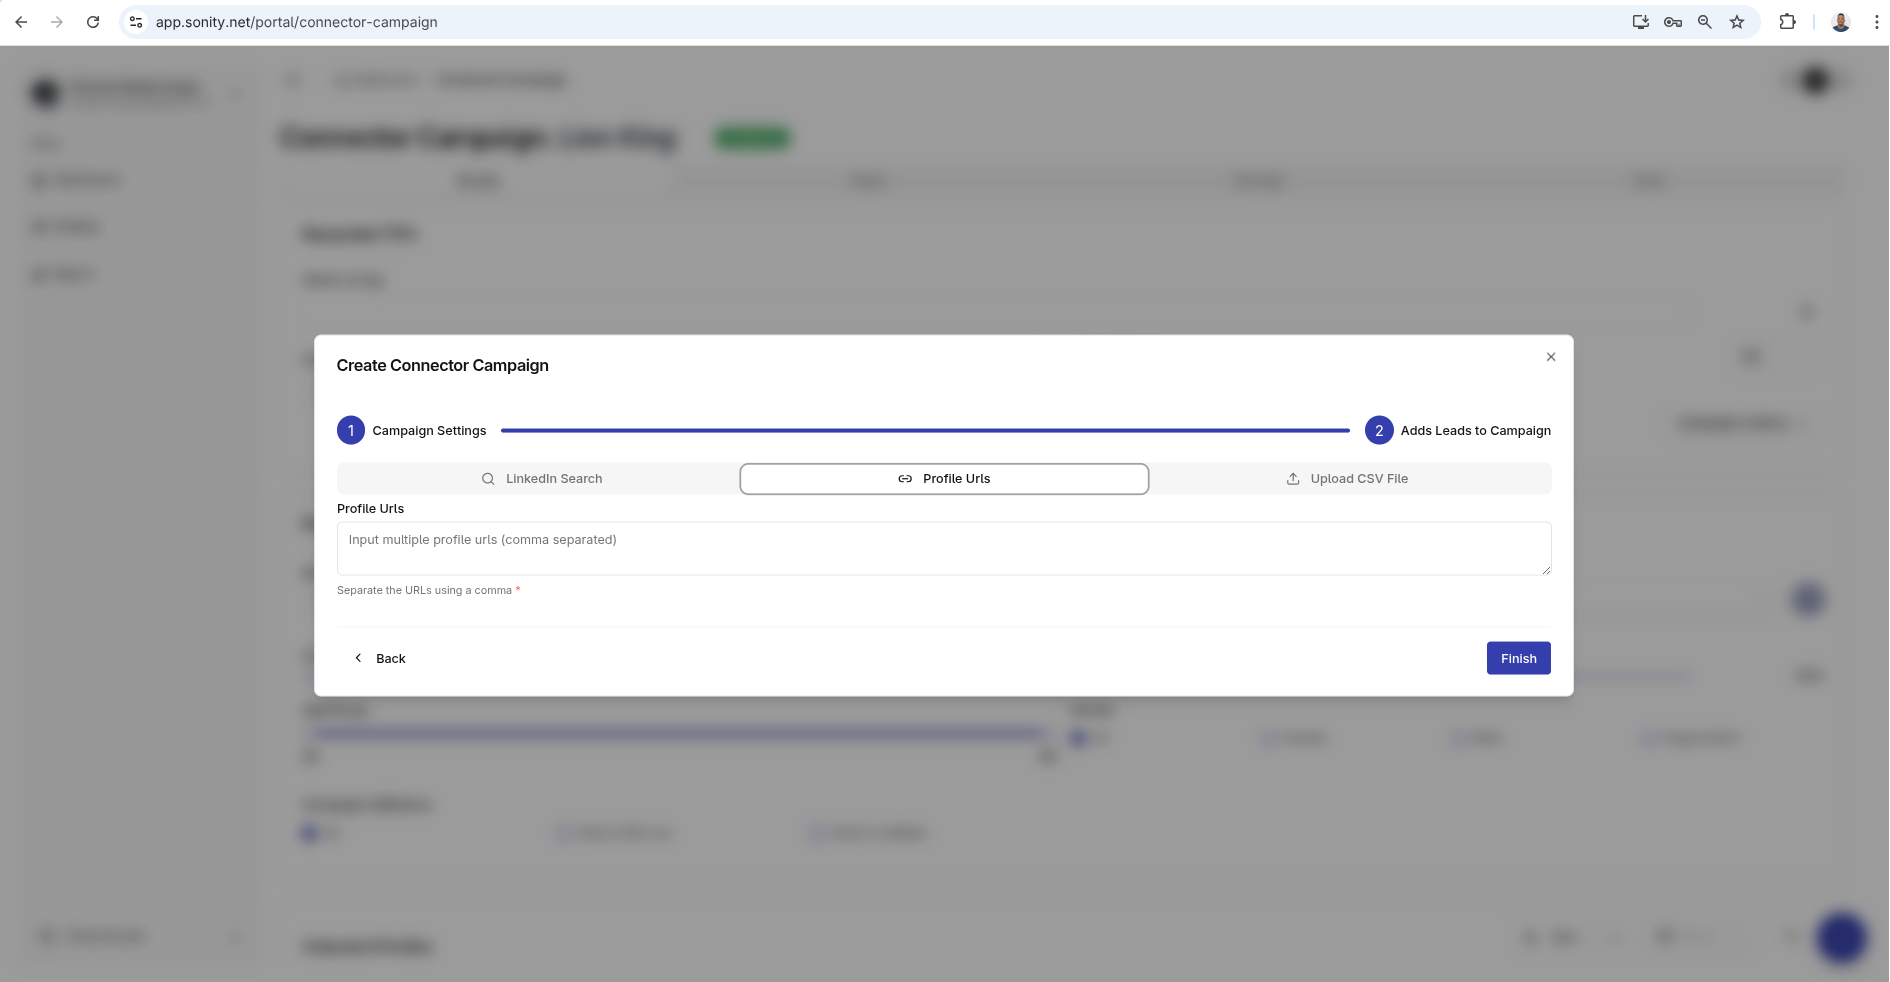
Method 2: Paste Profile URL
You also paste Linked profile URLS:
https://www.linkedin.com/in/lisa, https://www.linkedin.com/in/john, https://www.linkedin.com/in/leo
This is of course ideal when you have a few specific contacts that you are targeting
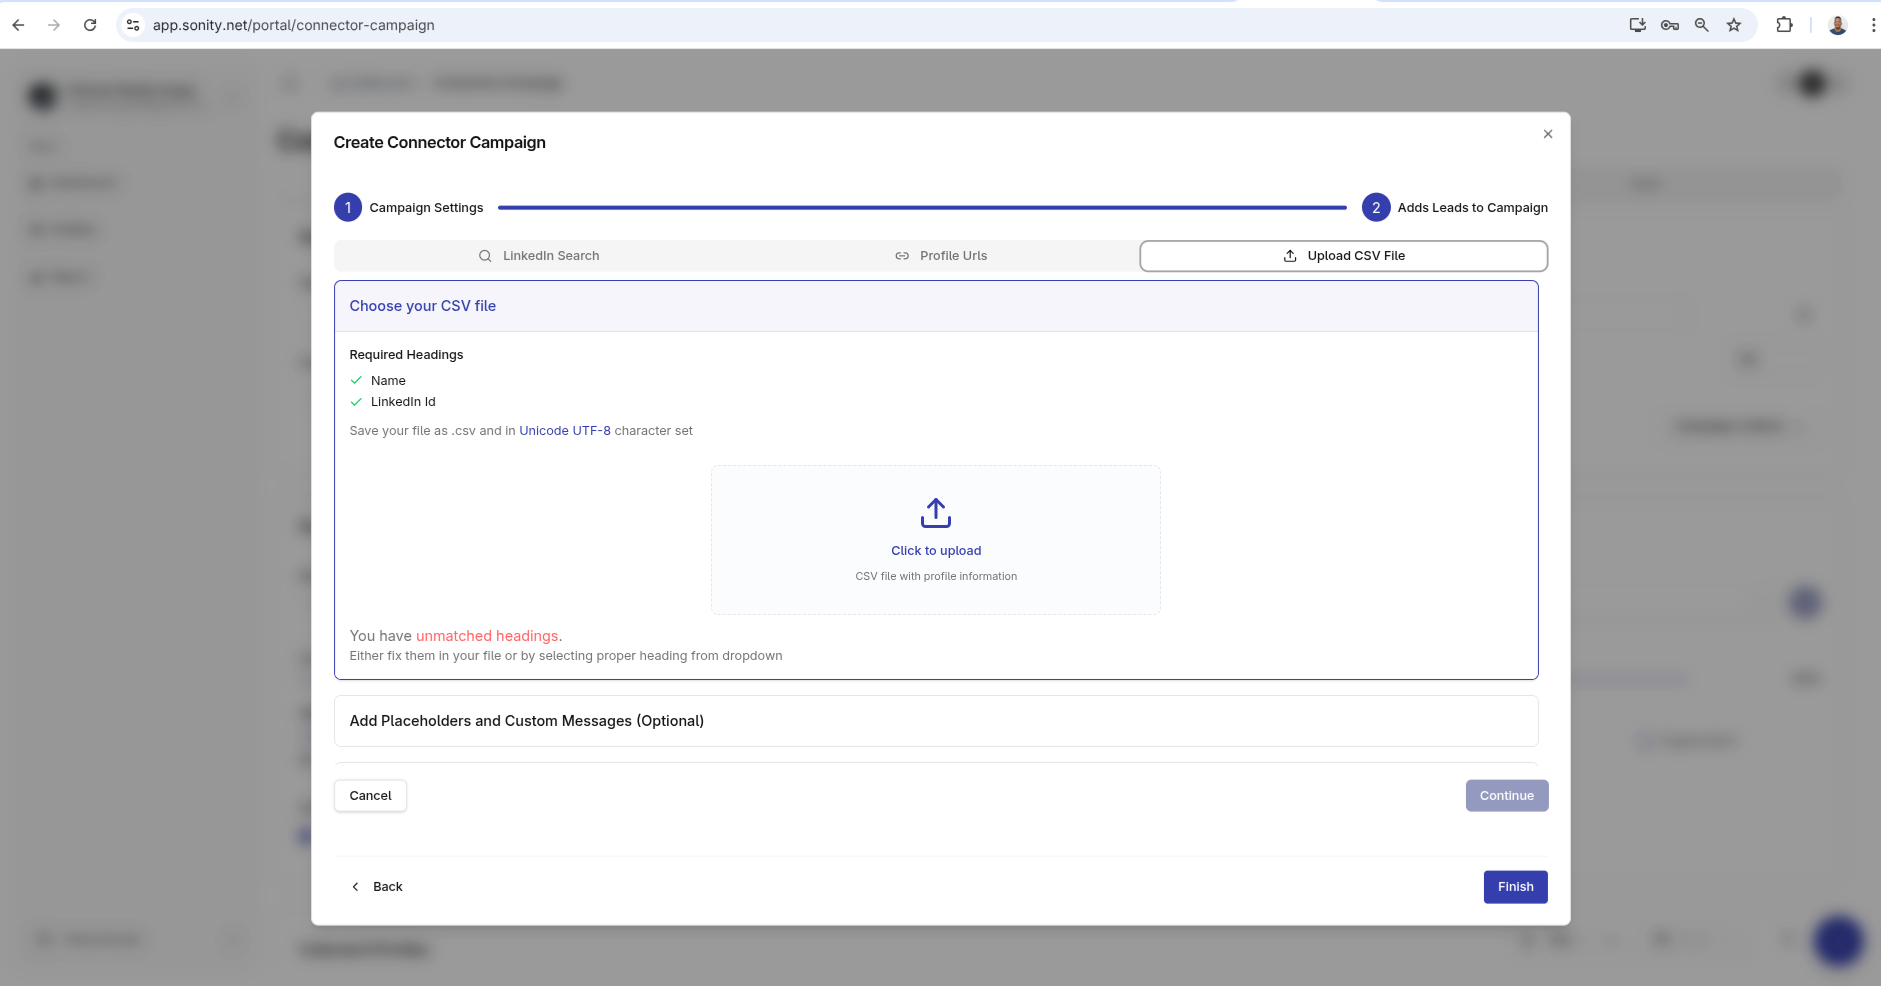
Method 3: Upload CSV File
You can also add contacts by using a CSV file. Upload the file and follow the prompts:
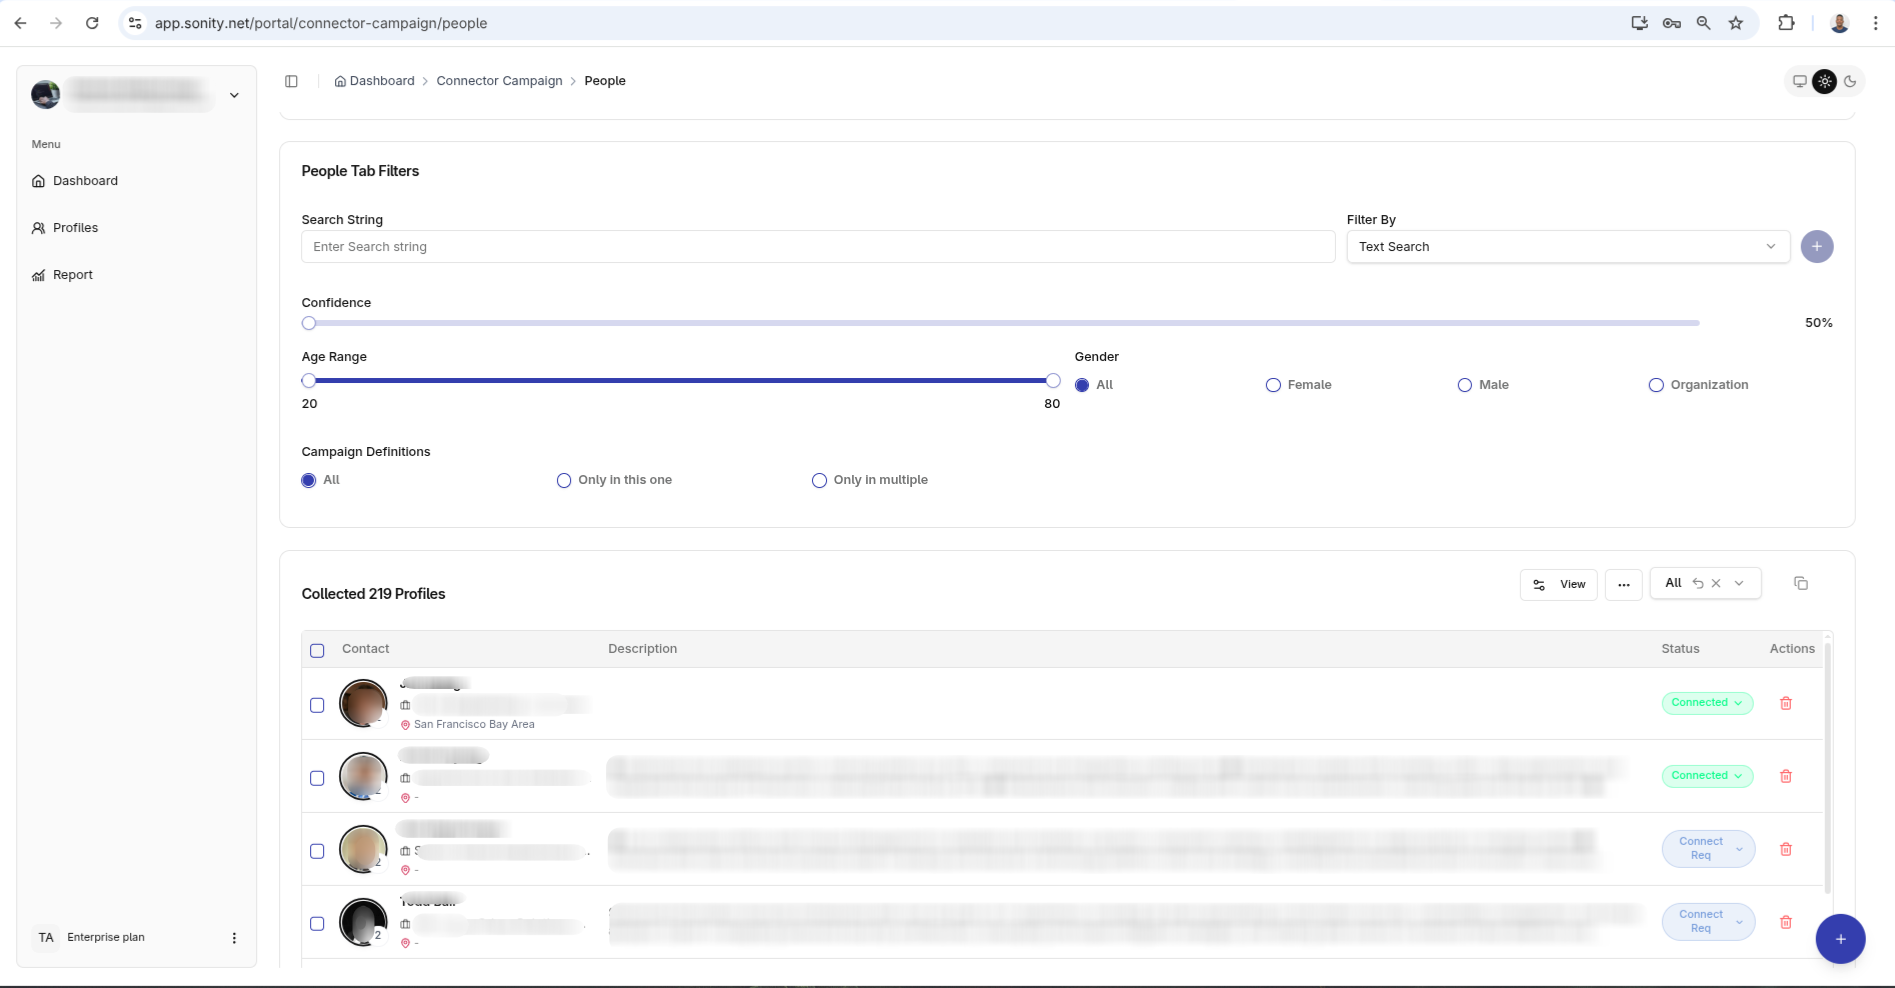
After this is done it should take you to the People Tab:
Step 4: Add steps and launch
Once contacts are added, open the Steps tab and define how Sonity should execute this campaign. If you need help with this part, follow Campaign Steps.
After configuring your steps, launch the campaign and monitor progress from your reports.